- Products

- Developers
- User stories
- Blog
- Pricing

Build a realtime Instagram clone — Part 3: Realtime feed updates with Pusher and desktop notifications
- Introduction
- Prerequisites
- Configure Pusher on the server
- Install the Node modules
- Import the Node modules
- Configure the Pusher client
- Creating the endpoint for storing new posts
- Configure Pusher on the client
- Set up the Pusher client
- Subscribe to realtime updates
- Displaying posts
- Enable desktop notifications for new posts
- Checking if notifications are enabled in the browser
- Requesting permissions
- Interacting with notifications
- Conclusion
Introduction
This is part 3 of a 4 part tutorial. You can find part 1 here, part 2 here and part 4 here.
In the last part of this series, we looked at how to connect the GraphQL server to our React Instagram clone allowing for dynamic posts to be viewed on the homepage. Now, to give users a seamless and fluid experience when interacting with the application, let’s add realtime functionality to it. This will update feeds as new posts are created and a notification system will also be put in place to allow for this.
To make this possible, Pusher is going to be integrated into the application to make it easier to bring realtime functionality without worrying about infrastructure.
Prerequisites
- Should have read previous parts of the series
- Basic knowledge of JavaScript
- Node installed on your machine
- NPM installed on your machine
Configure Pusher on the server
To get started with Pusher, create a developer account. Once you do this, create your application and get your application keys.
Note your application keys as you will need them later on in the article
Install the Node modules
Once you do that, you will need to install the Node modules needed for the application to work in the server directory of the application:
npm install pusher connect-multiparty body-parser --save
pusherto integrate realtime functionalitybody-parserandconnect-multipartyto handle incoming requests
Import the Node modules
Now that the necessary modules have been installed, the next thing is to import them for use in the server/server.js file. Edit it to look like this:
1// server/server.js 2 [...] 3 4 let Pusher = require("pusher"); 5 let bodyParser = require("body-parser"); 6 let Multipart = require("connect-multiparty"); 7 8 [...]
Configure the Pusher client
You will also need to configure your Pusher client to allow you to trigger events. To do this, add the following to the server.js file:
1// server/server.js 2 [...] 3 4 let pusher = new Pusher({ 5 appId: 'PUSHER_APP_ID', 6 key: 'PUSHER_APP_KEY', 7 secret: 'PUSHER_APP_SECRET', 8 cluster: 'PUSHER_CLUSTER', 9 encrypted: true 10 }); 11 12 // create express app 13 [...]
Creating the endpoint for storing new posts
To simulate the effect of creating a new post, a new endpoint is added to the application as follows:
1// server/server.js 2 3 // add Middleware 4 let multipartMiddleware = new Multipart(); 5 6 // trigger add a new post 7 app.post('/newpost', multipartMiddleware, (req,res) => { 8 // create a sample post 9 let post = { 10 user : { 11 nickname : req.body.name, 12 avatar : req.body.avatar 13 }, 14 image : req.body.image, 15 caption : req.body.caption 16 } 17 18 // trigger pusher event 19 pusher.trigger("posts-channel", "new-post", { 20 post 21 }); 22 23 return res.json({status : "Post created"}); 24 }); 25 26 // set application port 27 [...]
When a post request is made to the /post route, the data submitted is then used to construct a new post and then the new-post event is triggered in the post-channel and a response is sent to the client making the request.
Configure Pusher on the client
Now that the server has been configured, the next thing that needs to be done is to get Pusher working in our React application. To do this, let’s install the JavaScript Pusher module in the root of the instagram-clone directory:
npm install pusher-js
Set up the Pusher client
Now that the module is installed, the Pusher module needs to be used. Edit the src/App.js like this:
1// src/App.js 2 3 import React, {Component} from 'react'; 4 [...] 5 // import pusher module 6 import Pusher from 'pusher-js'; 7 8 // set up graphql client 9 [...] 10 11 // create component 12 class App extends Component{ 13 constructor(){ 14 super(); 15 // connect to pusher 16 this.pusher = new Pusher("PUSHER_APP_KEY", { 17 cluster: 'eu', 18 encrypted: true 19 }); 20 } 21 22 render(){ 23 return ( 24 <ApolloProvider client={client}> 25 <div className="App"> 26 <Header /> 27 <section className="App-main"> 28 {/* pass the pusher object and apollo to the posts component */} 29 <Posts pusher={this.pusher} apollo_client={client}/> 30 </section> 31 </div> 32 </ApolloProvider> 33 ); 34 } 35 } 36 37 export default App;
Notice that in the snippet above, pusher and apollo_client are passed as properties for the Posts component.
Let’s examine the Posts component.
1// src/components/Posts/index.js 2 3 import React, {Component} from "react"; 4 import "./Posts.css"; 5 import gql from "graphql-tag"; 6 import Post from "../Post"; 7 8 class Posts extends Component{ 9 constructor(){ 10 super(); 11 this.state = { 12 posts : [] 13 } 14 } 15 [...]
In the constructor of the Posts component an array of posts is added to the state of the component.
Then, we use the lifecycle function componentDidMount() to make a query to fetch the existing posts from the server and then set the posts.
1// src/components/Posts/index.js 2 [...] 3 4 componentDidMount(){ 5 // fetch the initial posts 6 this.props.apollo_client 7 .query({ 8 query:gql` 9 { 10 posts(user_id: "a"){ 11 id 12 user{ 13 nickname 14 avatar 15 } 16 image 17 caption 18 } 19 } 20 `}) 21 .then(response => { 22 this.setState({ posts: response.data.posts}); 23 }); 24 [...]
Subscribe to realtime updates
Next thing is to subscribe the component to the posts-channel and then listen for new-post events:
1// src/components/Posts/index.js 2 [...] 3 // subscribe to posts channel 4 this.posts_channel = this.props.pusher.subscribe('posts-channel'); 5 6 // listen for a new post 7 this.posts_channel.bind("new-post", data => { 8 this.setState({ posts: this.state.posts.concat(data.post) }); 9 }, this); 10 } 11 [...]
Displaying posts
Afterwards, use the render() function to map the posts to the Post component like this:
1// src/components/Posts/index.js 2 [...] 3 render(){ 4 return ( 5 <div className="Posts"> 6 {this.state.posts.map(post => <Post nickname={post.user.nickname} avatar={post.user.avatar} image={post.image} caption={post.caption} key={post.id}/>)} 7 </div> 8 ); 9 } 10 } 11 12 export default Posts;
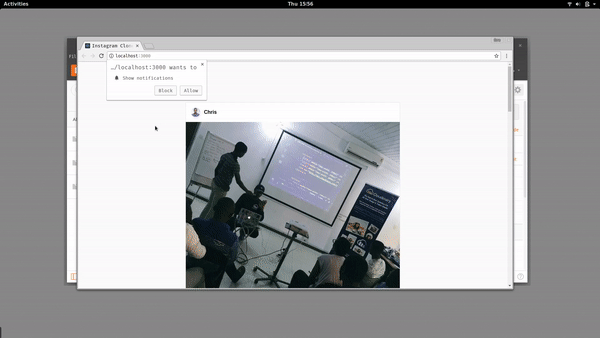
Now, you can go ahead and start your backend server node server and your frontend server npm start. When you navigate to locahost:3000/ you get the following:
Enable desktop notifications for new posts
Now, sometimes users have tabs of applications open but aren’t using them. I’m sure as you’re reading this, you likely have more than one tab open in your web browser - if you’re special, you have > 10. To keep the users engaged, the concepts of notifications was introduced. Developers can now send messages to users based on interaction with the application. Let’s leverage this to keep users notified when a new post has been created.
Checking if notifications are enabled in the browser
Since this feature is fairly new, not all users of your application may have the notification feature on their browser. You need to make a check to see if notifications are enabled. To do this, tweak the src/App.js as follows:
1// src/App.js 2 3 class App extends Component{ 4 [...] 5 6 componentDidMount(){ 7 if ('actions' in Notification.prototype) { 8 alert('You can enjoy the notification feature'); 9 } else { 10 alert('Sorry notifications are NOT supported on your browser'); 11 } 12 } 13 14 [...] 15 } 16 export default App;
Requesting permissions
To get started, the first thing you will need to do is to get permission from the user to display notifications. This is put in place so that developers don’t misuse the privilege and begin to spam their users. Edit the src/components/Posts/index.js file as follows :
1// src/components/Posts/index.js 2 3 [...] 4 5 class Posts extends Components{ 6 [...] 7 8 componentDidMount(){ 9 // request permission 10 Notification.requestPermission(); 11 [...]
The next thing that needs to be done is to now display the notification to the user when an event is met. This is done by tweaking the this.posts_channel.bind() function :
1// src/components/Posts/index.js 2 3 [...] 4 // subscribe to posts channel 5 this.posts_channel = this.props.pusher.subscribe("posts-channel"); 6 7 this.posts_channel.bind("new-post", data => { 8 // update states 9 this.setState({ posts: this.state.posts.concat(data.post) }); 10 11 // check if notifcations are permitted 12 if(Notification.permission === 'granted' ){ 13 try{ 14 // notify user of new post 15 new Notification('Pusher Instagram Clone',{ body: `New post from ${data.post.user.nickname}`}); 16 }catch(e){ 17 console.log('Error displaying notification'); 18 } 19 } 20 }, this); 21 } 22 23 render() { 24 return ( 25 <div> 26 <div className="Posts"> 27 {this.state.posts 28 .slice(0) 29 .reverse() 30 .map(post => ( 31 <Post 32 nickname={post.user.nickname} 33 avatar={post.user.avatar} 34 image={post.image} 35 caption={post.caption} 36 key={post.id} 37 /> 38 ))} 39 </div> 40 </div> 41 ); 42 } 43 } 44 45 export default Posts
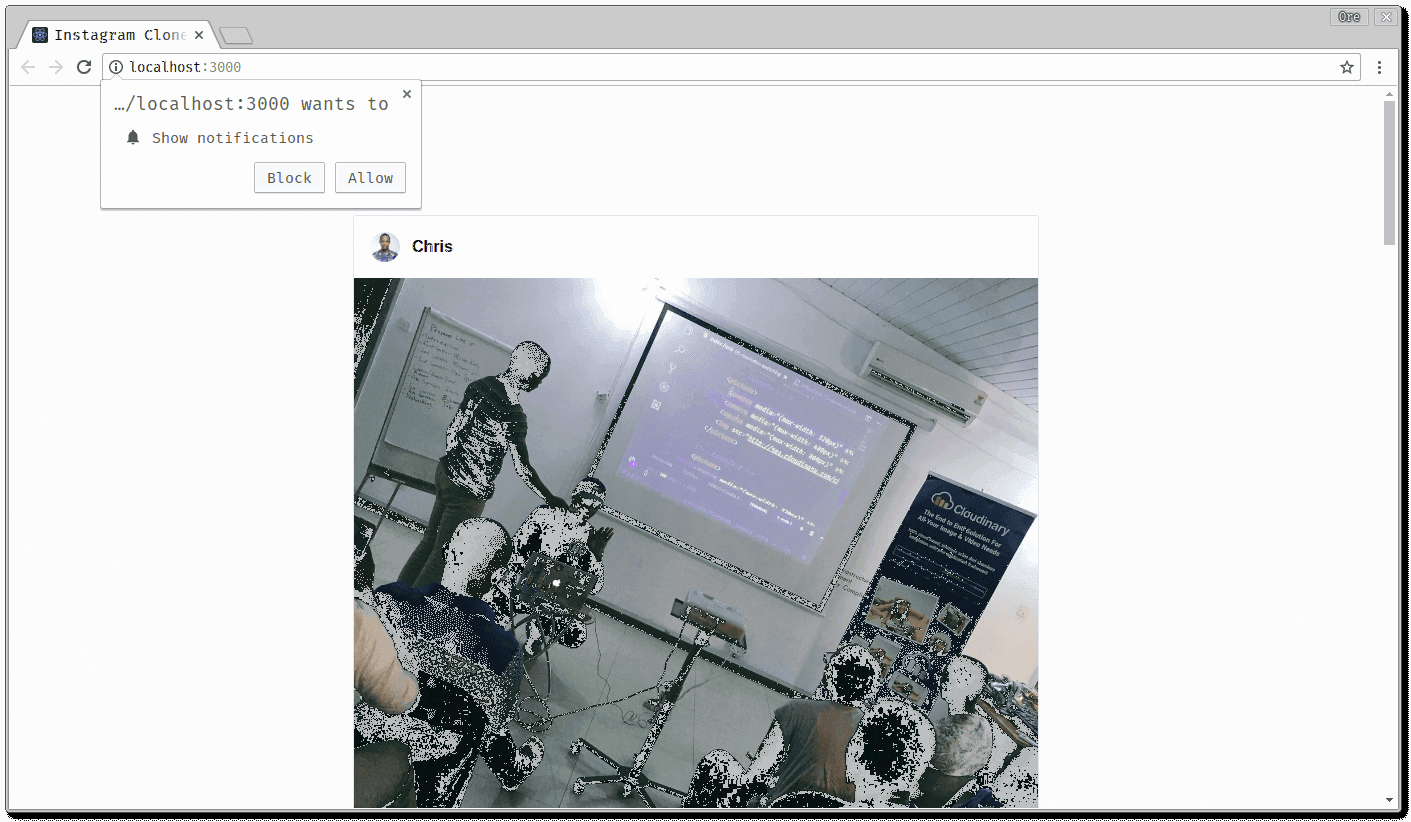
Now, when you reload your application and head over to localhost:3000/ and you get this:
Interacting with notifications
To add extra functionality, the notification could further be tweaked to allow users to interact with them. To do this, edit the Notification object like this:
1// src/components/Posts/index.js 2 3 // check for notifications 4 if(Notification.permission === 'granted' ){ 5 try{ 6 // notify user of new post 7 let notification = new Notification( 8 'Pusher Instagram Clone', 9 { 10 body: `New post from ${data.post.user.nickname}`, 11 icon: 'https://img.stackshare.io/service/115/Pusher_logo.png', 12 image: `${data.post.image}`, 13 } 14 ); 15 // open the website when the notification is clicked 16 notification.onclick = function(event){ 17 window.open('http://localhost:3000','_blank'); 18 } 19 }catch(e){ 20 console.log('Error displaying notification'); 21 } 22 }
When another user creates a new post, you then get a display that looks like this:
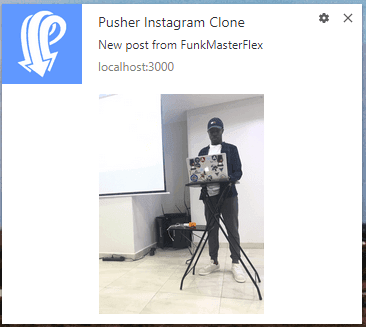
When the user clicks on the notification, they are directed to view the full post.
Conclusion
In this part of the series, we looked at how to incorporate realtime functionality into the instagram-clone application and also saw how to notify users when someone creates new posts using desktop notifications. In the next part of the series, we will see how to take our application offline using service workers. Here’s a link to the full Github repository if interested.


© 2024 Pusher Ltd. All rights reserved.
Pusher Limited is a company registered in England and Wales (No. 07489873) whose registered office is at MessageBird UK Limited, 3 More London Riverside, 4th Floor, London, United Kingdom, SE1 2AQ.