- Products

- Developers
- User stories
- Blog
- Pricing

Create a live blog app using Ruby on Rails
- Introduction
- Demo
- Prerequisites
- Getting started
- Creating a new Ruby project
- Configuring the database
- Creating the post model
- Creating the homepage
- Creating and storing posts
- Saving images with Cloudinary
- Configuring Cloudinary
- Saving posts
- Adding realtime functionality with Pusher Channels
- Triggering events from controller
- Displaying new posts in realtime for readers
- Conclusion
Introduction
With the advancements of technology came new ways of doing things. About 20 years ago, the major source of obtaining information was from printed publications. Now, people don’t buy as many printed publications as before. They visit the websites of media publications, consume information and then continue with the rest of their days. This has come with numerous advantages with the major advantage being how fast it is to get the new articles to the readers.
Demo
In this article, we are going to create a live blog application that allows readers to see new posts in realtime as editors publish them. To do this, we are going to use Ruby on Rails and usher Channels.
Prerequisites
To follow through this tutorial, you’ll need the following:
- Ruby installed on your machine
- Rails on your machine
To confirm your installation, run the following command:
1rails --version # minimum version 4.2 2 ruby --version # minimum version 2.2.2
If you get their version numbers as results then you’re good to go.
Getting started
Creating a new Ruby project
To create a new rails project, run the following command:
rails new ruby-live-blog
This creates a starter project for you with the following structure:

Now, you can view the demo application by running:
rails server --binding=127.0.0.1
Open your browser and navigate to http://127.0.0.1:3000/ to see the application at work
Configuring the database
To display blog posts to users, there has to be a place where the application stores blog posts. To store the blog posts, we need a database. For this live blog application, we are going to use SQLite as the database for storing information.
To create your database, run the command:
rake db:create
This creates the database in the db/ directory of the project if they weren’t automatically created before.
Creating the post model
To represent a sample blog post in our application, let’s create a model. A simple blog post will contain the following properties:
- Title - the title of the post
- Body - the post content
- Author - the name of the author of the post
- Media - a link to the post media
Create the model by running the command:
rails generate model Post title:text body:text author:text media:text
This creates the post model and a migration file for the new model located in the db/migrate/ directory. A migration file is a form of version control for the database. Your posts migration file will look like this:
1# db/migrate/{timestamp}_create_posts.rb 2 3 class CreatePosts < ActiveRecord::Migration[5.2] 4 def change 5 create_table :posts do |t| 6 t.text :title 7 t.text :body 8 t.text :author 9 t.text :media 10 11 t.timestamps 12 end 13 end 14 end
To effect the changes in the database, run the migration by using the command:
rails db:migrate
On a successful run, you get the following output:
1➜ rails db:migrate 2 == 20180609132632 CreatePosts: migrating ====================================== 3 -- create_table(:posts) 4 -> 0.0016s 5 == 20180609132632 CreatePosts: migrated (0.0017s) =============================
At this stage, the database structure is all set and we have created the post model. The next thing to do now is to allow editors upload new blog posts.
Creating the homepage
The homepage displays created blog posts to readers when the page is loaded. Let’s create a controller that is responsible for fetching and displaying posts on the homepage. To do this, run the following command:
rails generate controller Home index
This creates a new controller and related template files. Update the home controller to look like this:
1# app/controllers/home_controller.rb 2 3 class HomeController < ApplicationController 4 def index 5 @posts = Post.all.order("created_at DESC") 6 end 7 end
The next thing to do is to then update the index view as follows:
1<!-- app/views/home/index.html.erb --> 2 <div class="wrapper"> 3 <div class="title"> 4 <h1>Live blog with Ruby and Pusher</h1> 5 <p>New posts will be displayed in realtime</p> 6 </div> 7 8 <div class="posts" id="post_section"> 9 <% @posts.each do |post| %> 10 <div class="post-card"> 11 <img class="image" src="<%= post.media %>"> 12 <div class="title"> 13 <h2><%= post.title %></h2> 14 </div> 15 <div class="body-trunc"> 16 <p><%= post.body %></p> 17 </div> 18 </div> 19 <% end %> 20 </div> 21 </div>
The index view also has the following styling:
1// app/assets/stylesheets/home.scss 2 3 * { 4 font-family: "Lora", serif; 5 } 6 7 .title { 8 text-align: center; 9 } 10 11 .posts { 12 margin-top: 50px; 13 display: flex; 14 flex-direction: row; 15 justify-content: space-around; 16 flex-wrap: wrap; 17 } 18 19 .post-card { 20 display: flex; 21 flex-direction: column; 22 min-width: 300px; 23 max-width: 300px; 24 height: 400px; 25 box-shadow: 1px 1px rgb(68, 68, 68); 26 border: 1px solid rgb(68, 68, 68); 27 border-radius: 5px; 28 margin: 20px 0px; 29 } 30 31 .image { 32 width: 100%; 33 height: 170px; 34 } 35 36 .body-trunc { 37 margin-left: 10px; 38 margin-right: 10px; 39 }
Creating and storing posts
The Post controller is responsible for accepting new post data and storing the post data in the database. To create the controller, run the following command:
rails generate controller Post create store
This command also creates route entries for the controller methods. At this point, your routes.rb file should look like this:
1# config/routes.rb 2 3 Rails.application.routes.draw do 4 get 'post/create' 5 post 'post/store' 6 7 root 'home#index' 8 end
The create route is responsible for accepting the post data from the editor and the store route is responsible for storing the data in the database.
Update the create view to look like this:
1<!-- app/views/post/create.html.erb --> 2 3 <div class="title"> 4 <h1>Live Blog</h1> 5 <p>Editor View</p> 6 </div> 7 8 <div style="text-align:center"> 9 <p><strong>Fill and submit the form below to create a new post</strong></p> 10 11 <form method="POST" action="/post/store" enctype="multipart/form-data" class="post-form"> 12 <%= token_tag %> 13 14 <div class="form-group"> 15 <label for="title">Title</label> 16 <input type="text" name="title" class="form-control"> 17 </div> 18 <div class="form-group"> 19 <label for="media">Post Media</label> 20 <input type="file" name="media" class="form-control media-upload"> 21 </div> 22 <div class="form-group"> 23 <label for="author">Post Author</label> 24 <input type="text" name="author" class="form-control" /> 25 </div> 26 <div class="form-group"> 27 <label for="body">Post Content</label> 28 <textarea name="body" class="form-control" cols="30" rows="10"></textarea> 29 </div> 30 <div class="from-group"> 31 <div><input type="submit" value="Create Post"></div> 32 </div> 33 </form> 34 35 </div>
The view also has the following styling:
1// app/assets/stylesheets/posts.scss 2 3 .post-form{ 4 display: flex; 5 width: 50%; 6 flex-direction: column; 7 margin: 20px auto; 8 } 9 .form-group{ 10 display: flex; 11 justify-content: space-between; 12 margin: 5px 0px; 13 align-items: center; 14 } 15 16 input[type="submit"]{ 17 background-color: #333333; 18 border: none; 19 color: white; 20 padding: 10px 32px; 21 text-align: center; 22 text-decoration: none; 23 display: inline-block; 24 font-size: 16px; 25 }
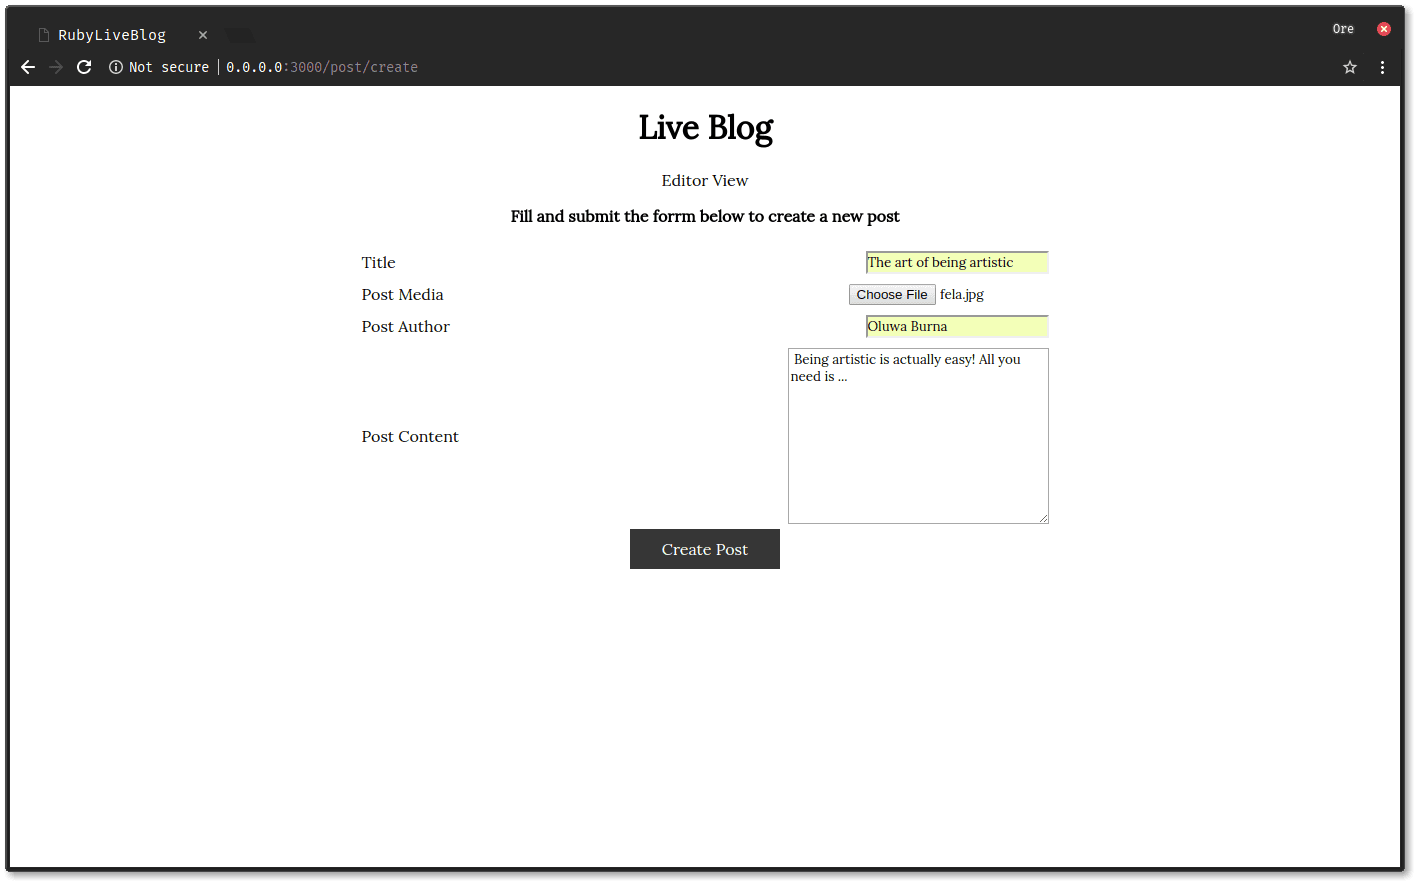
When you navigate to the /``post``/create route on the web browser, you get the following view:
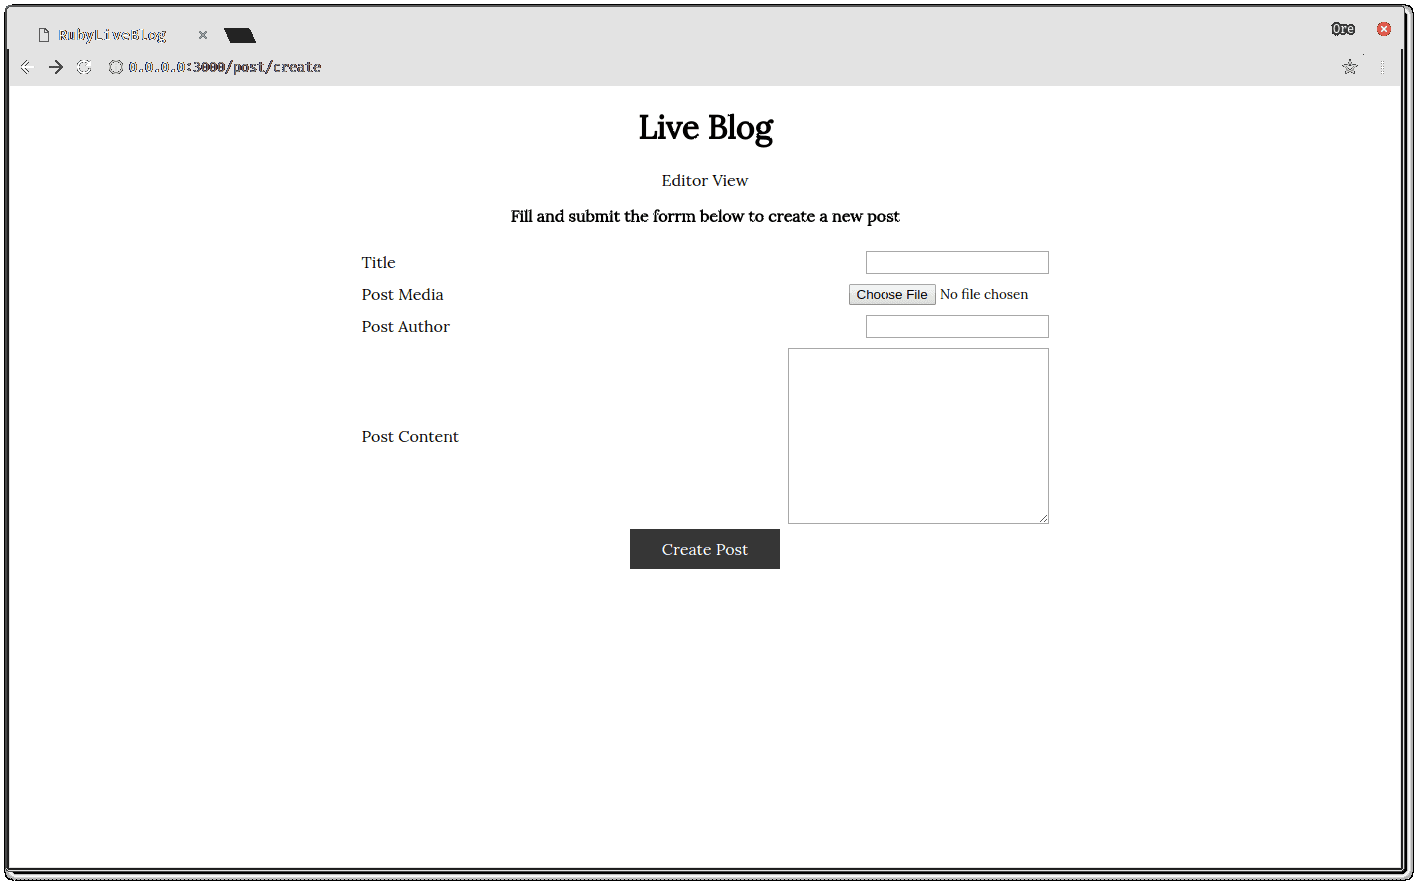
At this point, the application is almost complete. Notice that in the create view, we specified that the form should be submitted to the /post/store route but we did not show how the post was saved. We will look at how to save posts in the next section.
Saving images with Cloudinary
To save images for the new posts, we will use Cloudinary. Cloudinary takes care of all your image and video manipulation needs when building applications.
Cloudinary has a Ruby gem that will be used to handle the file uploads.
Add the Cloudinary as a dependency in your Gemfile:
1# adding cloudinary to gemfile 2 gem 'cloudinary'
Install it by running the command:
bundle install
Configuring Cloudinary
To use the Cloudinary gem, you need to have a Cloudinary developer account to use it in your applications. Head over here to create one if you don’t have one already.
Cloudinary automatically checks for a cloudinary.yml in the config directory that contains the configuration file for your Cloudinary account. You can download your own customized file for your account here. Once it’s downloaded, place the file in the config directory.
Saving posts
The module will be used in the post controller as follows:
1# app/controllers/post_controller.rb 2 3 class PostController < ApplicationController 4 def create 5 end 6 7 def store 8 # upload image to cloudinary 9 @image = Cloudinary::Uploader.upload(params[:media]) 10 # create a new post object and save to db 11 @post = Post.new({:title => params[:title], :text => params[:text], :author => params[:author], :media => @image['secure_url']}) 12 @post.save 13 # trigger an event with pusher 14 [...] 15 redirect_to('/') 16 end 17 end
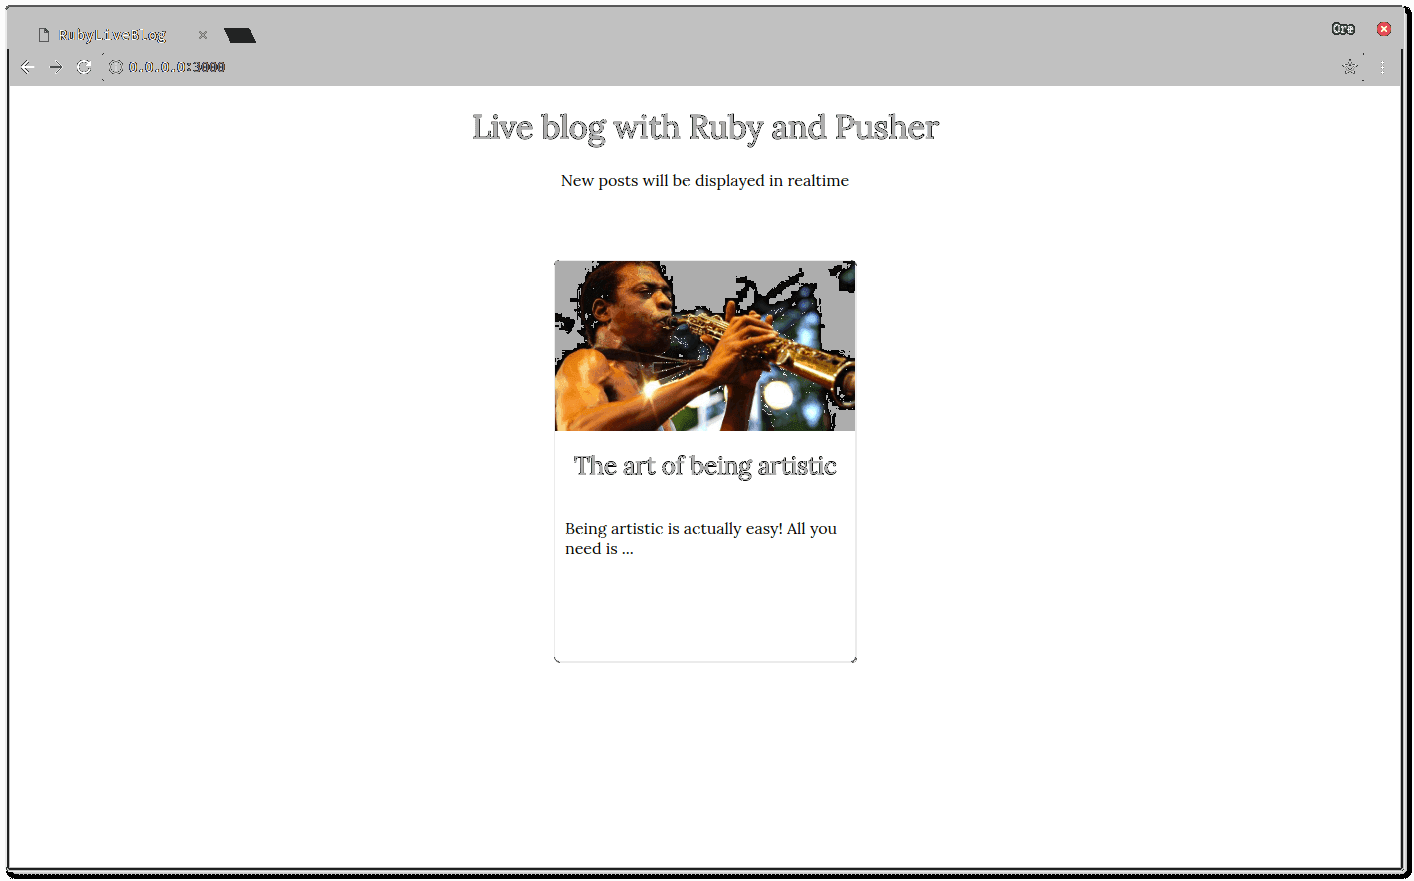
Now, when a post is created and saved, you can see it on the homepage:
Adding realtime functionality with Pusher Channels
Currently, the only way users get access to new posts is if they refresh their browsers. We need a way to automatically add new posts to the page as they are created and this is where Pusher Channels comes in. Pusher Channels allows you to integrate realtime functionality in your applications with ease without worrying about infrastructure. To get started, create a free sandbox Pusher account or sign in. When you’re done with that, create a new Channels application from the dashboard and note your credentials as you’ll need them as we progress.
Pusher Channels has a Ruby gem which we are going to use. To install it, add the following to your Gemfile :
1# adding Pusher to Gemfile 2 3 gem 'pusher'
And then install the gem by running the command:
bundle install
To confirm your installation, run:
bundle info pusher
Configuring the Pusher package
Create a config/initializers/pusher.rb file and add the following content to it:
1# config/initializers/pusher.rb 2 require 'pusher' 3 4 Pusher.app_id = 'PUSHER_APP_ID' 5 Pusher.key = 'PUSHER_APP_KEY' 6 Pusher.secret = 'PUSHER_APP_SECRET' 7 Pusher.cluster = 'PUSHER_APP_CLUSTER' 8 Pusher.logger = Rails.logger 9 Pusher.encrypted = true
The Pusher credentials can be obtained from the Channels application dashboard.
Triggering events from controller
To trigger a new post event, update the post controller:
1# app/controllers/post_controller.rb 2 class PostController < ApplicationController 3 def create 4 end 5 6 def store 7 # upload image to cloudinary 8 @image = Cloudinary::Uploader.upload(params[:media]) 9 # create a new post object and save to db 10 @post = Post.new({:title => params[:title], :body => params[:body], :author => params[:author], :media => @image['secure_url']}) 11 12 if @post.save 13 # broadcasting posts using pusher 14 Pusher.trigger('posts-channel','new-post', { 15 id: @post.id, 16 title: @post.title, 17 media: @post.media, 18 body: @post.body 19 }) 20 end 21 22 redirect_to('/') 23 end 24 end
When a post is successfully saved in the database, a new-post event is triggered in the posts-channel. For debugging purposes, you can see events that have been triggered by your application on the Pusher dashboard.
Displaying new posts in realtime for readers
To use Pusher Channels in the frontend of your application, you need to do the following:
Include the Pusher script in the header of the application layout:
1# app/views/layouts/application.html.erb 2 [...] 3 <head> 4 [...] 5 6 <script src="https://js.pusher.com/4.1/pusher.min.js"></script> 7 8 [...] 9 </head> 10 [...]
Afterward, create a Pusher client in the home page view
1# app/views/home/index.html.erb 2 <script> 3 var pusher = new Pusher('YOUR_APP_KEY', { 4 cluster: 'eu', 5 encrypted: true 6 }); 7 </script> 8 9 <div class="wrapper"> 10 [...]
Finally, you’ll need to subscribe to the post-channel and listen for new-post events. Update the app/views/home/index.html.erb to look like this:
1# app/views/home/index.html.erb 2 3 <script> 4 var pusher = new Pusher('YOUR_APP_KEY', { 5 cluster: 'eu', 6 encrypted: true 7 }); 8 </script> 9 10 <div class="wrapper"> 11 [...] 12 </div> 13 14 <script> 15 var channel = pusher.subscribe('posts-channel'); 16 channel.bind('new-post', function(data) { 17 let post_media = data.media; 18 let post_id = data.id 19 let post_body = data.body; 20 let post_title = data.title; 21 22 let div = document.getElementById('post_section'); 23 let new_content = document.createElement("div"); 24 new_content.innerHTML = ` 25 <div class="post-card"> 26 <img class="image" src="${post_media}"> 27 <div class="title"> 28 <h2>${post_title}</h2> 29 </div> 30 <div class="body-trunc"> 31 <p>${post_body}</p> 32 </div> 33 </div>`; 34 div.insertBefore(new_content, div.firstChild); 35 }); 36 </script>
When an event is broadcast, we update the UI to show the new blog post. To see the application at work, start the rails server using the command:
rails server --binding=127.0.0.1
Navigate to the home page and the editor view to see the application:
Conclusion
In this article, we looked at how to use Ruby and Pusher to build a live blog with realtime updates when new posts are created. You can leverage the concepts shared here when building your own application that needs realtime functionality. The complete source code of this demo application is available on GitHub.


© 2024 Pusher Ltd. All rights reserved.
Pusher Limited is a company registered in England and Wales (No. 07489873) whose registered office is at MessageBird UK Limited, 3 More London Riverside, 4th Floor, London, United Kingdom, SE1 2AQ.