- Products

- Developers
- User stories
- Blog
- Pricing

Track online presence in a Ruby on Rails app
Introduction
Introduction
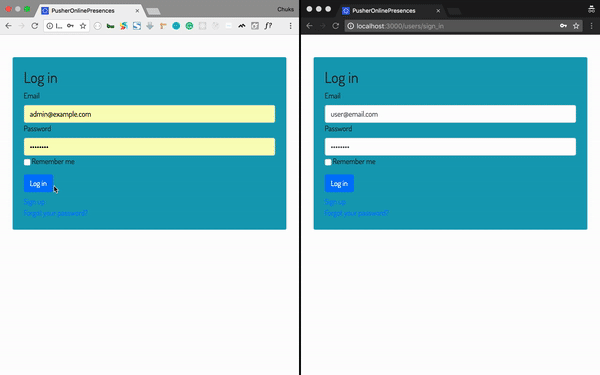
We live in a social age, an age where people meet and form relationships online. On whatever online platform people meet, one important feature to have is the ability for users to know when their friends are online or offline. In this post we’ll build a simple app where we can monitor the online presence of users in realtime. When we’re done, we’d have built something that looks like this:
Prerequisites
-
A basic understanding of Ruby, CoffeeScript and PostgreSQL will help you get the best out of this tutorial. You can check the PostgreSQL, Ruby, and Rails documentation for installation steps.
-
Before we start building our app, let’s ensure we have Ruby and Rails installed. Run the following command in your terminal to confirm you have both Ruby and Rails installed:
1$ ruby -v // 2.1 or above 2 $ rails -v // 4.2 or above
- Create a free sandbox Pusher account or sign in.
Setting up the application
Open your terminal and run the following Rails commands to create our demo application:
1# create a new Rails application 2 $ rails new pusher-online-presence -T --database=postgresql
Go ahead and change directory into the newly created pusher-online-presence folder:
1# change directory 2 $ cd pusher-online-presence
In the root of your pusher-online-presence directory, open your Gemfile and add the following gems:
1# Gemfile 2 3 gem 'bootstrap', '~> 4.1.0' 4 gem 'jquery-rails' 5 gem 'pusher' 6 gem 'figaro' 7 gem 'devise'
In your terminal, ensure you are in the pusher-online-presence project directory and install the gems by running:
$ bundle install
Database setup
To get our app up and running, we’ll create a database for it to work with. You can check out this article on how to create a Postgres database and an associated user and password.
Once you have your database details, in your database.yml file, under the development key, add the following code:
1# config/database.yml 2 3 ... 4 development: 5 <<: *default 6 database: pusher-online-presence_development // add this line if it isn't already there 7 username: database_user // add this line 8 password: user_password // add this line 9 ...
Ensure that the username and password entered in the code above has access to the pusher-online-presence_development database. After that, run the following code to setup the database:
1# setup database 2 $ rails db:setup
Bootstrap the application
With our database all set up, first thing we’ll do is to set up Devise. Devise is a flexible authentication solution for Ruby on Rails. It helps you set up user authentication in seconds. In your terminal, run the following command:
1# run the devise generator 2 $ rails generate devise:install
At this point, a number of instructions will appear in the console, one of which involves adding some code to your application.html.erb file. We’ll also add our Pusher script while we’re at it.
1# app/views/layouts/application.html.erb 2 3 <head> 4 ..... 5 <meta name="viewport" content="width=device-width, initial-scale=1, maximum-scale=1"> 6 <%= stylesheet_link_tag 'application', media: 'all', 'data-turbolinks-track': 'reload' %> 7 <script src="https://js.pusher.com/4.1/pusher.min.js"></script> # add Pusher script 8 <%= javascript_include_tag 'application', 'data-turbolinks-track': 'reload' %> 9 </head> 10 <body> 11 <div class="container"> # add this block of code 12 <% if notice %> 13 <div class="alert alert-info alert-dismissible fade show" role="alert"> 14 <p class="notice m-0"><%= notice %></p> 15 <button type="button" class="close" data-dismiss="alert" aria-label="Close"> 16 <span aria-hidden="true">×</span> 17 </button> 18 </div> 19 <% end %> 20 <% if alert %> 21 <div class="alert alert-danger alert-dismissible fade show" role="alert"> 22 <p class="m-0"><%= alert %></p> 23 <button type="button" class="close" data-dismiss="alert" aria-label="Close"> 24 <span aria-hidden="true">×</span> 25 </button> 26 </div> 27 <% end %> 28 </div> # code block ends here 29 <%= yield %> 30 </body>
Next, we’ll generate our authentication view pages and user model using Devise. In your terminal, run the following command:
1# generate Devise view pages 2 $ rails generate devise:views 3 4 # generate user model 5 $ rails generate devise user 6 7 # generate migration to add extra columns to the user model 8 $ rails generate migration add_username_to_users username:string:uniq is_signed_in:boolean
Now that we have our migration files generated, we’ll make some modifications to some files and then run our migrations.
In your migrate folder, open the add_username_to_users migration file and add the following:
1# db/migrate/20180524154037_add_username_to_users.rb 2 3 class AddUsernameToUsers < ActiveRecord::Migration[5.1] 4 def change 5 add_column :users, :username, :string 6 add_index :users, :username, unique: true 7 add_column :users, :is_signed_in, :boolean, default: true # update this line 8 end 9 end
Note that your add_username_to_users file may have a different name from what is above, based on when you ran the migration commands.
Now, let’s add some validation to our user model:
1# app/models/user.rb 2 3 class User < ApplicationRecord 4 # Include default devise modules. Others available are: 5 # :confirmable, :lockable, :timeoutable and :omniauthable 6 validates :username, presence: :true, uniqueness: { case_sensitive: false } # add this line 7 validates :is_signed_in, inclusion: [true, false] # add this line 8 devise :database_authenticatable, :registerable, 9 :recoverable, :rememberable, :trackable, :validatable 10 end
Update the code in your application controller with the following:
1# app/controllers/application_controller.rb 2 3 class ApplicationController < ActionController::Base 4 protect_from_forgery with: :exception 5 before_action :configure_permitted_parameters, if: :devise_controller? 6 before_action :authenticate_user! 7 8 protected 9 10 def configure_permitted_parameters 11 added_attrs = [:username, :email, :password, :password_confirmation, :remember_me] 12 devise_parameter_sanitizer.permit :sign_up, keys: added_attrs 13 devise_parameter_sanitizer.permit :account_update, keys: added_attrs 14 end 15 end
Now, we’re ready to run our migration and see our app. In your terminal, run the following:
1# run database migrations 2 $ rails db:migrate
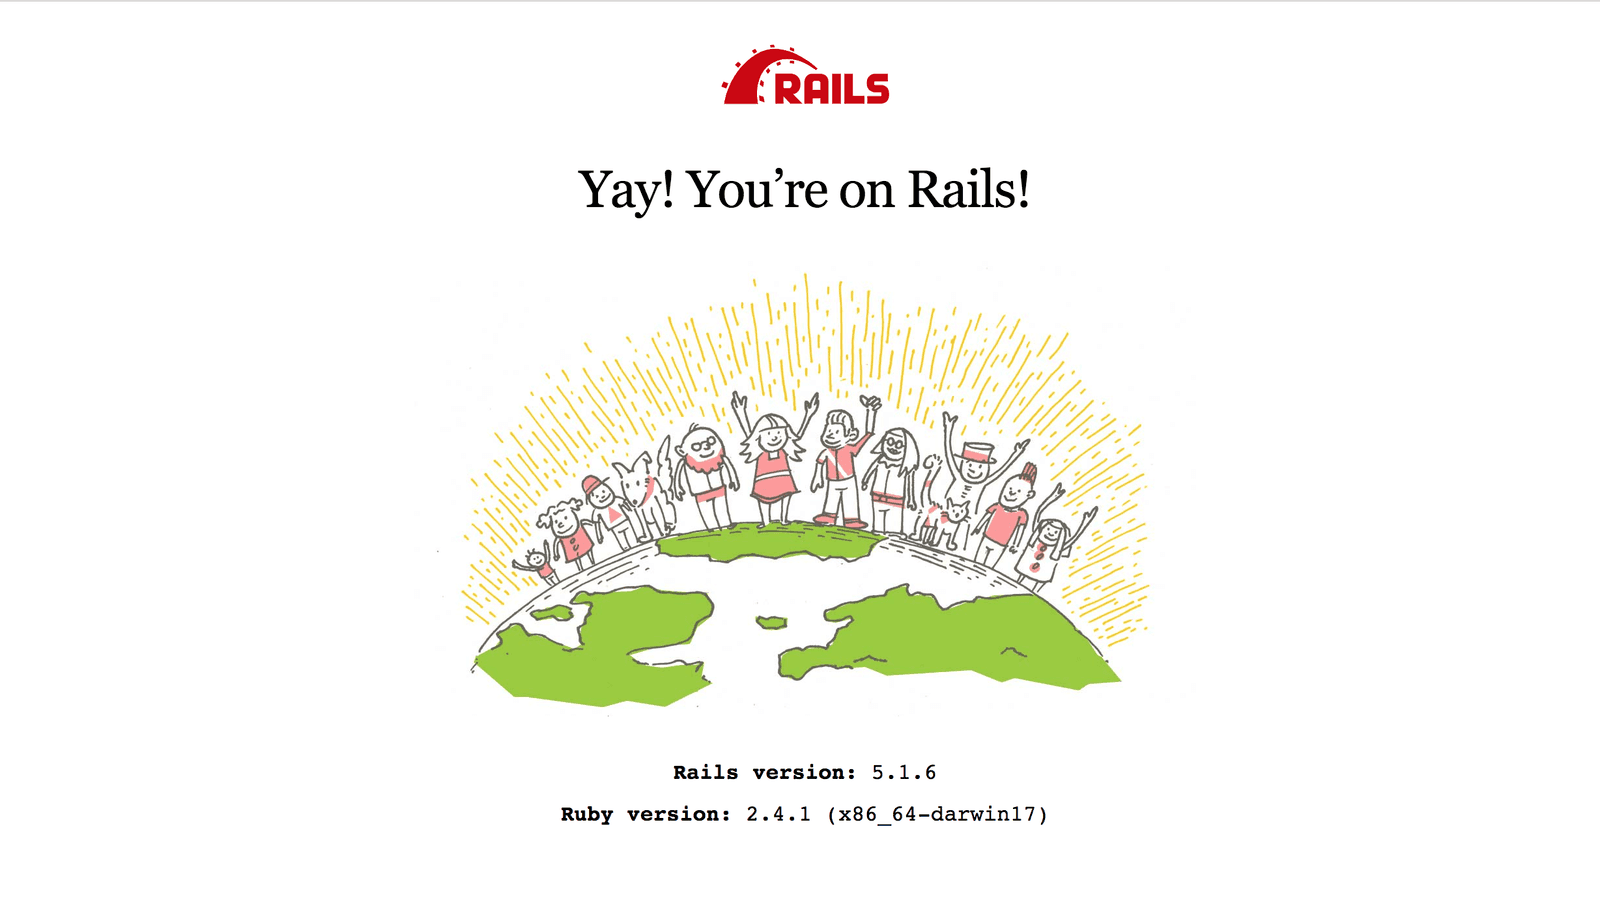
After running migrations, start the development server on your terminal by running rails s. Visit http://localhost:3000 in your browser to see your brand new application:
Pusher account setup
Now that our application is up and running, it’s time for us to create our app on Pusher. Sign up for a free Pusher account or sign in and go to Pusher dashboard
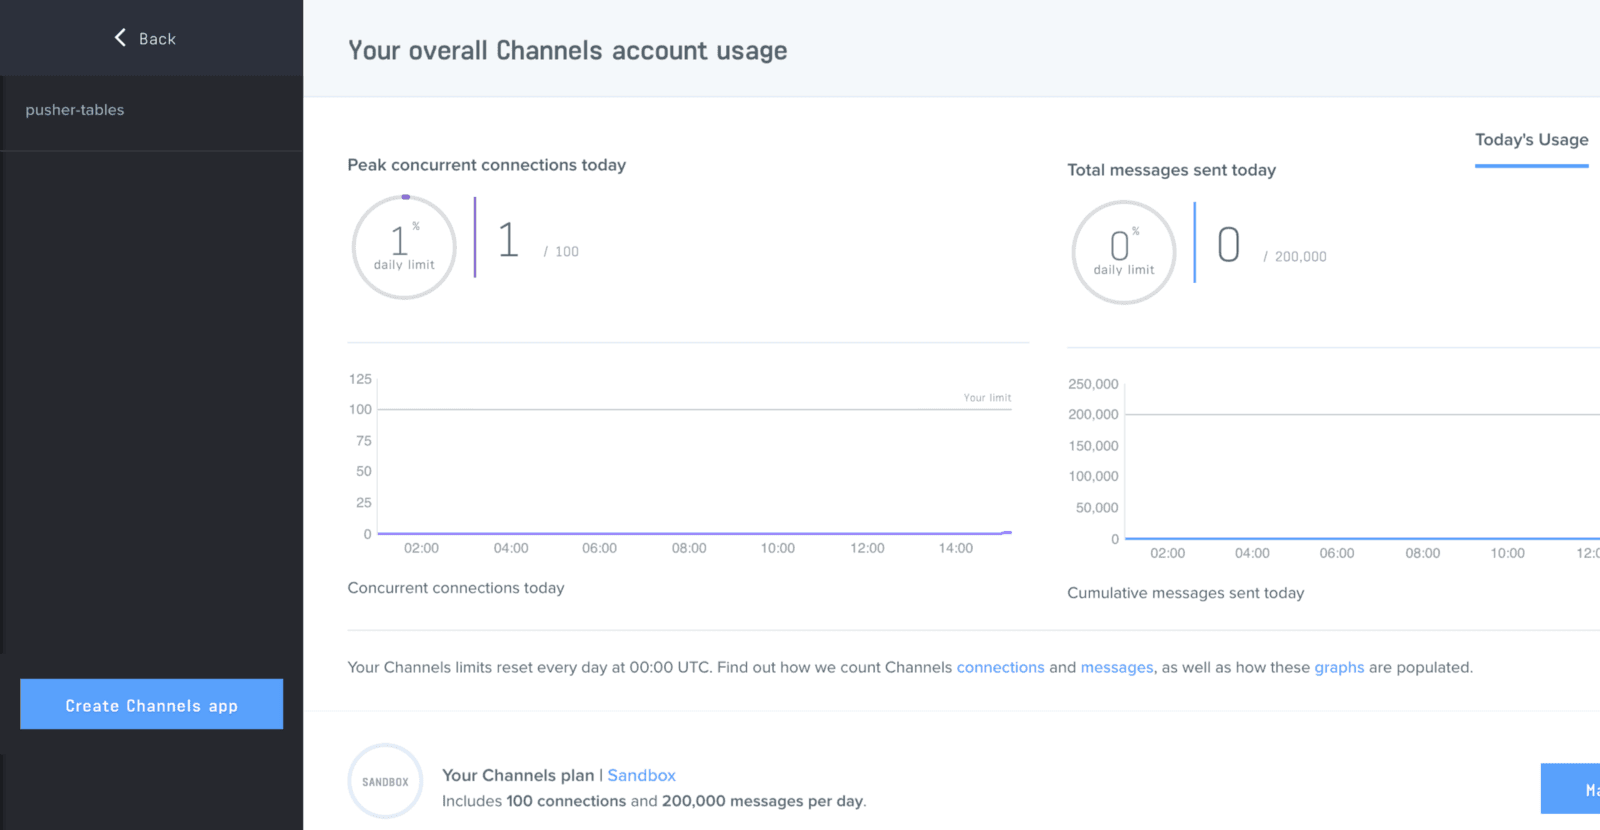
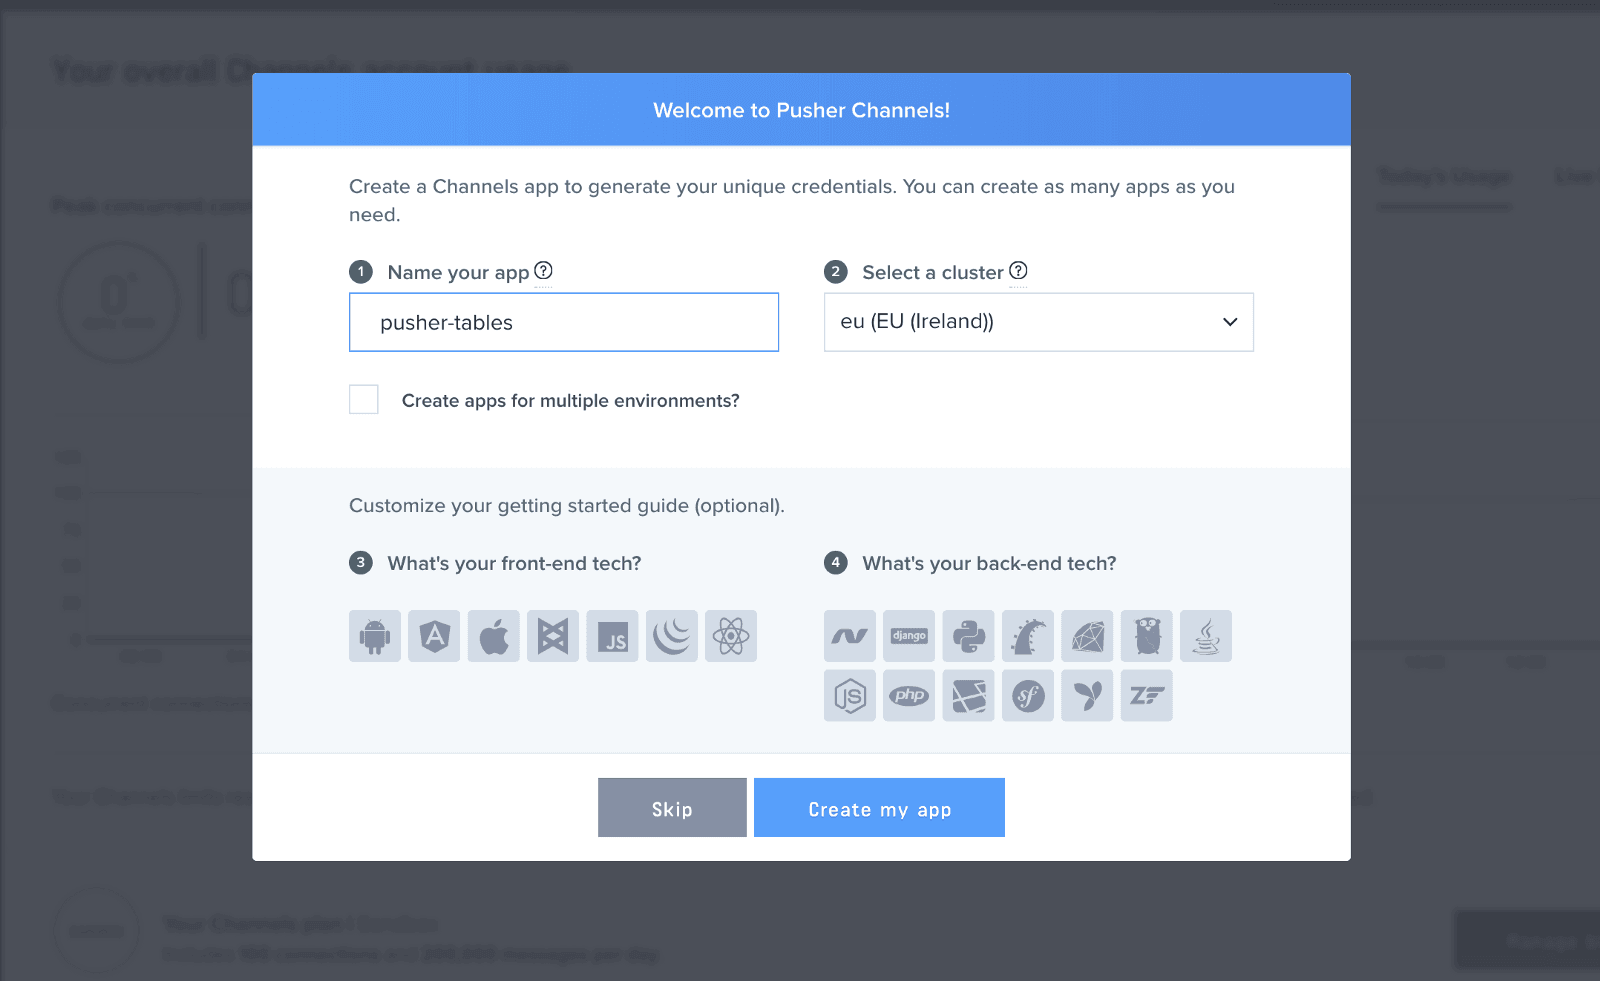
Create a new app by selecting Channels apps on the sidebar and clicking Create Channels app button on the bottom of the sidebar:
Configure an app by providing basic information requested in the form presented. You can also choose the environment you intend to integrate with Pusher, to be provided with some boilerplate setup code:
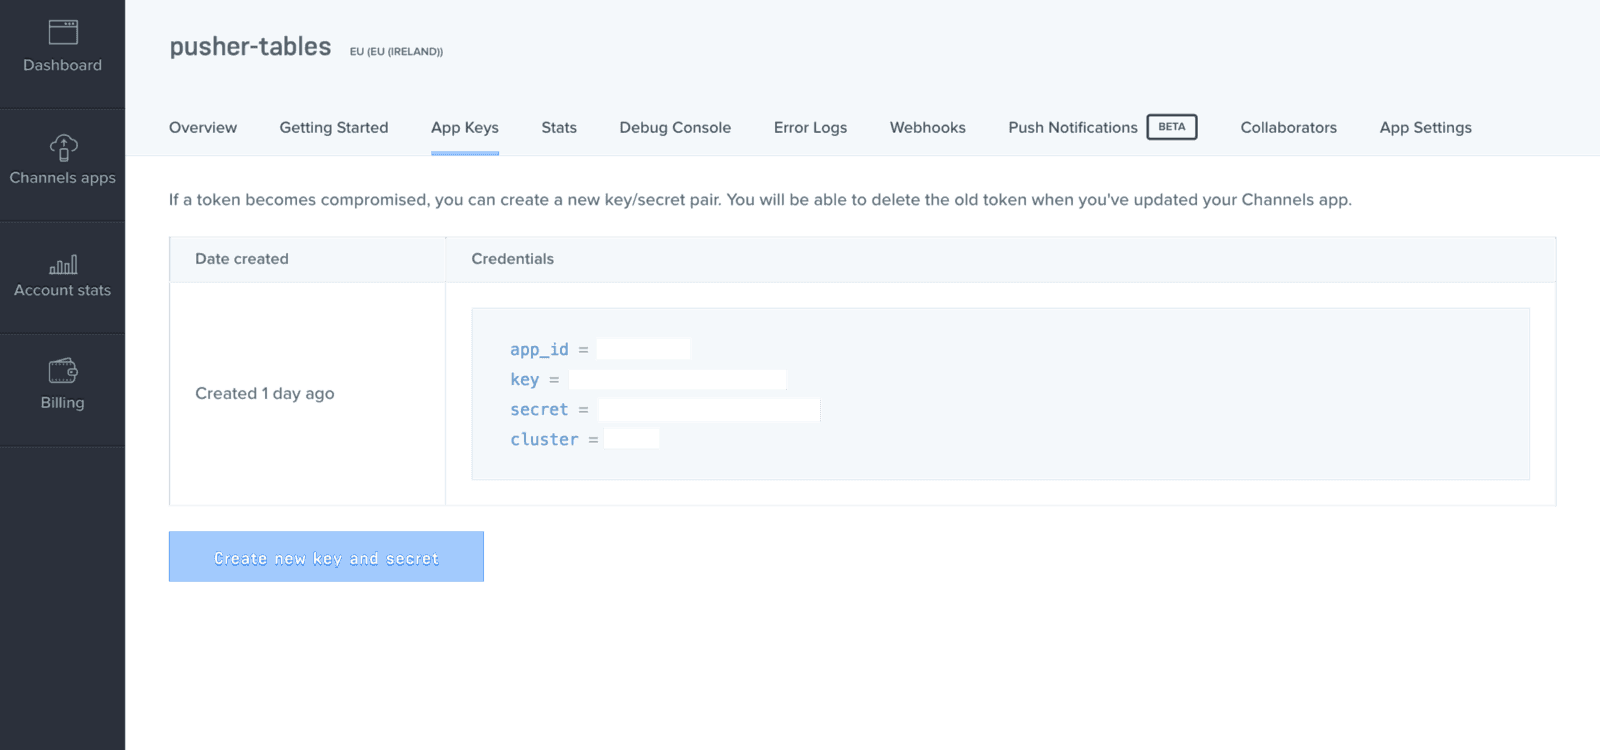
Click the App Keys tab to retrieve your keys
Styling the authentication pages
While bootstrapping the application, we generated some views courtesy of Devise. Those pages amongst others include our sign up and login pages. We’ll add some styling to the login and signup pages. Replace the code in the following files with the ones below:
1# app/views/devise/registrations/new.html.erb 2 3 <div class="container col-11 col-md-7 col-lg-5 bg-info login-container p-4 mt-5"> 4 <h2>Sign up</h2> 5 <%= form_for(resource, as: resource_name, url: registration_path(resource_name)) do |f| %> 6 <%= devise_error_messages! %> 7 <div class="field"> 8 <%= f.label :email %><br /> 9 <%= f.email_field :email, autofocus: true, autocomplete: "email", class: 'form-control' %> 10 </div> 11 <div class="field"> 12 <%= f.label :username %><br /> 13 <%= f.text_field :username, autofocus: true, autocomplete: "username", class: 'form-control' %> 14 </div> 15 <div class="field"> 16 <%= f.label :password %> 17 <% if @minimum_password_length %> 18 <em>(<%= @minimum_password_length %> characters minimum)</em> 19 <% end %><br /> 20 <%= f.password_field :password, autocomplete: "off", class: 'form-control' %> 21 </div> 22 <div class="field"> 23 <%= f.label :password_confirmation %><br /> 24 <%= f.password_field :password_confirmation, autocomplete: "off", class: 'form-control' %> 25 </div> 26 <div class="actions"> 27 <%= f.submit "Sign up", class: 'btn btn-primary my-2' %> 28 </div> 29 <% end %> 30 <%= render "devise/shared/links" %> 31 </div>
1# app/views/devise/sessions/new.html.erb 2 3 <div class="container col-11 col-md-7 col-lg-5 bg-info login-container p-4 mt-5"> 4 <h2>Log in</h2> 5 <%= form_for(resource, as: resource_name, url: session_path(resource_name)) do |f| %> 6 <div class="field"> 7 <%= f.label :email %><br /> 8 <%= f.email_field :email, autofocus: true, autocomplete: "email", class: 'form-control' %> 9 </div> 10 <div class="field"> 11 <%= f.label :password %><br /> 12 <%= f.password_field :password, autocomplete: "off", class: 'form-control' %> 13 </div> 14 <% if devise_mapping.rememberable? -%> 15 <div class="field"> 16 <%= f.check_box :remember_me %> 17 <%= f.label :remember_me %> 18 </div> 19 <% end -%> 20 <div class="actions"> 21 <%= f.submit "Log in", class: 'btn btn-primary my-2' %> 22 </div> 23 <% end %> 24 <%= render "devise/shared/links" %> 25 </div>
If you visit http://localhost:3000/users/sign_in or http://localhost:3000/users/sign_up, you’ll see our forms are still not looking pretty. Let’s change that with Bootstrap.
Add the following code to your application.js file, all before the last line:
1# app/assets/javascripts/application.js 2 3 ..... 4 //= require jquery3 # add this line 5 //= require popper # add this line 6 //= require bootstrap # add this line 7 //= require_tree .
Rename your application.css file to application.scss and add the following styles:
1# app/assets/stylesheets/application.scss 2 3 @import "bootstrap"; 4 @import url('https://fonts.googleapis.com/css?family=Dosis'); 5 body { 6 font-family: 'Dosis', sans-serif; 7 } 8 .login-container { 9 border-radius: 3px; 10 } 11 .full-page { 12 height: 100vh; 13 } 14 .left { 15 overflow-y: scroll; 16 height: 86vh; 17 } 18 .active-user { 19 border-radius: 3px; 20 padding-left: 0.5rem; 21 font-weight: 900; 22 margin-right: 0.5rem; 23 .online-icon { 24 border-radius: 50%; 25 width: 0.5rem; 26 height: 0.5rem; 27 } 28 } 29 .left::-webkit-scrollbar { 30 width: 0.3rem; 31 } 32 .left::-webkit-scrollbar-thumb { 33 background: #fff3; 34 }
If we reload our authentication pages now, we should be greeted with a pretty sight.
If you encounter any error related to application.html.erb, in config/boot.rb, change the ExecJS runtime from Duktape to Node.
1# config/boot.rb 2 ENV['EXECJS_RUNTIME'] ='Node'
Building the homepage
With our authentication pages set up, let’s design our homepage. We’ll set our root page to our index file and add some HTML markup and styling to it.
1# config/routes.rb 2 3 Rails.application.routes.draw do 4 get 'users/index' 5 devise_for :users 6 root 'users#index' 7 # For details on the DSL available within this file, see http://guides.rubyonrails.org/routing.html 8 end
Next, we’ll generate our users controller and add some markup to our index page.
1# generate a users controller with an index view 2 $ rails g controller users index
In your index.html.erb file, add the following code:
1# app/views/users/index.html.erb 2 3 <div class="container-fluid full-page"> 4 <div class="row"> 5 <div class="col-6 col-md-3 col-lg-2 bg-dark full-page"> 6 <% if user_signed_in? %> 7 <p class="text-white mt-3">Signed in as <%= current_user.username %></p> 8 <% end %> 9 <h6 class="text-white my-3">Online Users</h6> 10 <div class="left"> 11 <% @users.each do |user| %> 12 <% if user.username != current_user.username and user.is_signed_in %> 13 <p class="active-user bg-white" data-id="<%= user.id %>"> 14 <span class="online-icon d-inline-block bg-success"></span> 15 <span class="username">@<%= user.username %></span> 16 </p> 17 <% end %> 18 <% end %> 19 </div> 20 </div> 21 <div class="col-6 col-md-9 col-lg-10 bg-light full-page right py-3"> 22 <%= link_to 'Log out', destroy_user_session_path, method: :delete, class: 'btn btn-warning d-inline-block float-right' %> 23 </div> 24 </div> 25 </div>
Lastly, we’ll add the following code to our users controller:
1# app/controllers/users_controller.rb 2 3 class UsersController < ApplicationController 4 def index 5 @users = User.all 6 end 7 end
Now you can go ahead and visit http://localhost:3000/ in the browser to see our new homepage; after you create an account.
Realtime service with Pusher
Devise controls our users’ sessions via its sessions controller. For us to know when a user logs in or logs out, all we need to do is publish the events via Pusher. This way, we can subscribe to them and update the client side of our application.
First, let’s initialize our Pusher client. In the config/initializers folder, create a pusher.rb file and add the following code:
1# config/initializers/pusher.rb 2 3 require 'pusher' 4 Pusher.app_id = ENV["PUSHER_APP_ID"] 5 Pusher.key = ENV["PUSHER_KEY"] 6 Pusher.secret = ENV["PUSHER_SECRET"] 7 Pusher.cluster = ENV["PUSHER_CLUSTER"] 8 Pusher.logger = Rails.logger 9 Pusher.encrypted = true
Next, run figaro install in your terminal. It will generate an application.yml file. In the application.yml file add your Pusher keys:
1# config/application.yml 2 3 PUSHER_APP_ID: 'xxxxxx' 4 PUSHER_KEY: 'xxxxxxxxxxxxxxxxx' 5 PUSHER_SECRET: 'xxxxxxxxxxxxxx' 6 PUSHER_CLUSTER: 'xx'
With our Pusher client set up, let’s create a sessions controller that extends the Devise session controller. In your terminal, run the following command:
1# generate a sessions controller 2 $ rails generate controller sessions
In the sessions controller, add the following code:
1# app/controllers/sessions_controller.rb 2 3 class SessionsController < Devise::SessionsController 4 after_action :notify_pusher_login, only: :create 5 before_action :notify_pusher_logout, only: :destroy 6 7 def notify_pusher_login 8 user = User.find(current_user.id) 9 user.update(is_signed_in: true) 10 notify_pusher 'login' 11 end 12 13 def notify_pusher_logout 14 user = User.find(current_user.id) 15 user.update(is_signed_in: false) 16 notify_pusher 'logout' 17 end 18 19 def notify_pusher(activity_type) 20 Pusher.trigger('activity', activity_type, current_user.as_json) 21 end 22 end
In the code above, we have two callbacks; an after_action for after a user logs in and a before_action for before a user logs out. In both callbacks, we update the user’s is_signed_in status and notify Pusher.
Now, let’s inform Devise of our new sessions controller. In your routes file, add the following code:
1# config/routes.rb 2 3 Rails.application.routes.draw do 4 get 'users/index' 5 devise_for :users, :controllers => { :sessions => "sessions" } # update this line 6 root 'users#index' 7 end
Lastly, in our app, after a new user signup, users are automatically logged in. So we need to also publish login events whenever a there is a new signup. Let’s update our user model to achieve this:
1# app/models/user.rb 2 3 class User < ApplicationRecord 4 # Include default devise modules. Others available are: 5 # :confirmable, :lockable, :timeoutable and :omniauthable 6 validates :username, presence: :true, uniqueness: { case_sensitive: false } 7 validates :is_signed_in, inclusion: [true, false] 8 devise :database_authenticatable, :registerable, 9 :recoverable, :rememberable, :trackable, :validatable 10 after_create :notify_pusher # add this line 11 12 def notify_pusher # add this method 13 Pusher.trigger('activity', 'login', self.as_json) 14 end 15 16 def as_json(options={}) # add this method 17 super( 18 only: [:id, :email, :username] 19 ) 20 end 21 end
Updating the UI
Now that Pusher is aware of users’ log in and log out, all we need to do is to subscribe to the event and make the necessary changes to the DOM.
Rename your users.coffee file to users.coffee.erb and add the following code:
1# app/assets/javascripts/users.coffee.erb 2 3 $(document).ready => 4 <%# function for adding a user to the DOM when they log in %> 5 addLoggenInUser = (user) -> 6 $('.left').append """ 7 <p class="active-user bg-white" data-id="#{user.id}"> 8 <span class="online-icon d-inline-block bg-success"></span> 9 <span class="username">@#{user.username}</span> 10 </p> 11 """ 12 return 13 <%# function for removing a user from the DOM when they log out %> 14 removeLoggedOutUser = (user) -> 15 user = $ 'p[data-id=\'' + user.id + '\']' 16 $(user).remove() 17 return 18 19 <%# subscribe our Pusher client to the activity channel and if there's a login or logout event, call the necessary function %> 20 pusher = new Pusher('<%= ENV["PUSHER_KEY"] %>', 21 cluster: '<%= ENV["PUSHER_CLUSTER"] %>' 22 encrypted: true) 23 channel = pusher.subscribe('activity') 24 channel.bind 'login', (data) -> 25 addLoggenInUser data 26 channel.bind 'logout', (data) -> 27 removeLoggedOutUser data 28 return 29 return
In the code above, we subscribed our Pusher client to the activity channel and listened to the login and logout event. Whenever those events are broadcast, we call the appropriate function to manipulate the DOM.
Bringing it all together
Restart the development server if it is currently running. Visit http://localhost:3000 in two separate incognito browser tabs to test the app. You should see users appear and disappear from the sidebar in realtime as they log in and logout.
Conclusion
In this post, we have successfully created an app to monitor the online presence of users. I hope you found this tutorial helpful and would love to apply the knowledge gained here to easily set up your own application using Pusher. You can find the source code for the demo app on GitHub.


© 2024 Pusher Ltd. All rights reserved.
Pusher Limited is a company registered in England and Wales (No. 07489873) whose registered office is at MessageBird UK Limited, 3 More London Riverside, 4th Floor, London, United Kingdom, SE1 2AQ.