- Products

- Developers
- User stories
- Blog
- Pricing

Send push notifications to your browser from Adonis.js
Introduction
Introduction
In this tutorial, I will show how to send push notifications to your browser from your backend. We’ll use Adonis.js as our Node.js framework, and we’ll push notifications from our Adonis app to our browser through Pusher Channels.
Web push notifications are an instant means of direct communication between a website and its customers. They appear as clickable messages on web browsers in desktop and Android devices. This is the easiest way to gather more subscribers without collecting email IDs and contact details.
Demo
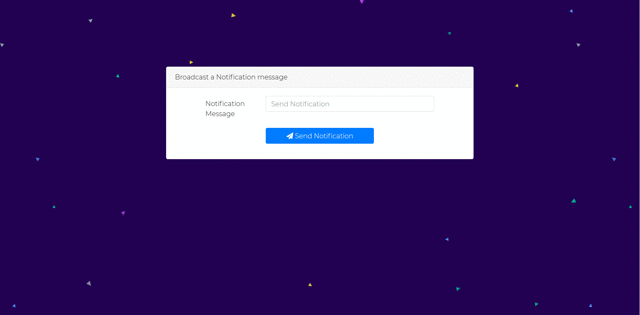
Here is the final result of our app:
Prerequisites
To follow this tutorial, knowledge of JavaScript and Node.js, more precisely Adonis.js is required. You should also have the following installed on your machine:
Set up your Adonis project
Open your terminal and type this command to install Adonis CLI:
1# if you don't have Adonis CLI installed on your machine. 2 $ npm install -g @adonisjs/cli 3 4 # Create a new adonis app and move into the app directory 5 $ adonis new adonis-push-notifications && cd adonis-push-notifications
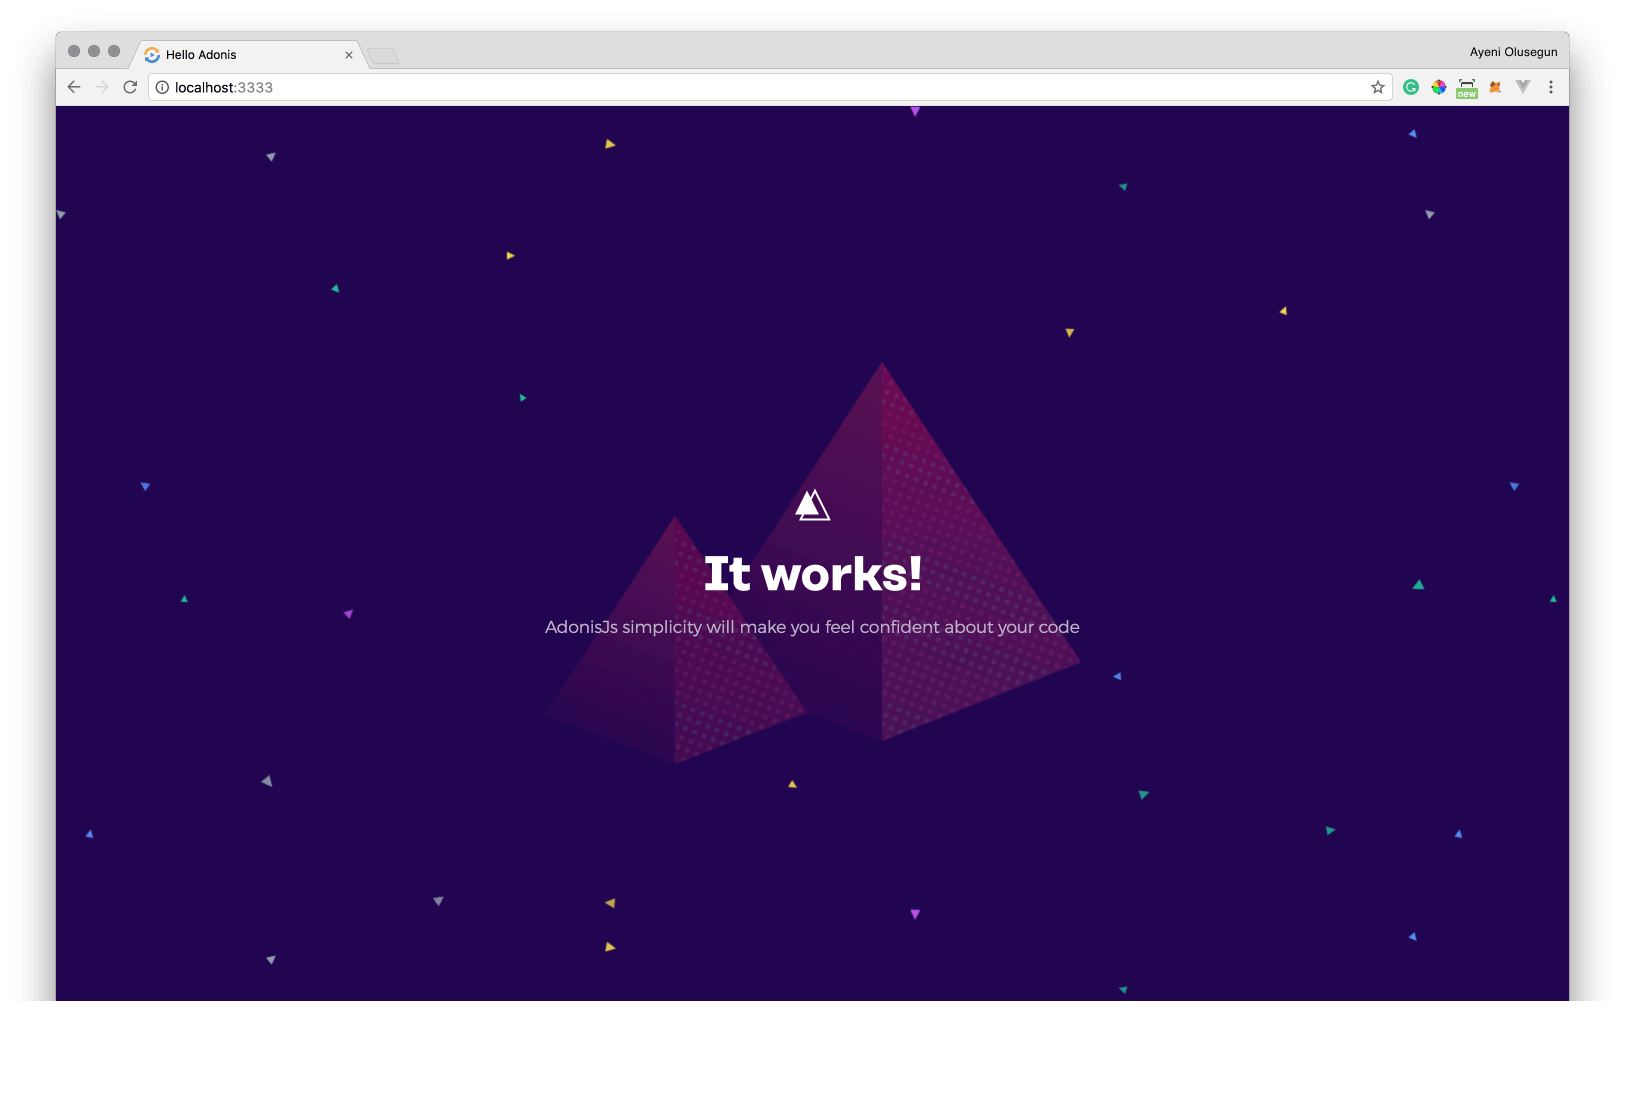
Start the server and test if it's working:
1$ adonis serve --dev 2 2018-10-18T09:09:16.649Z - info: serving app on http://127.0.0.1:3333
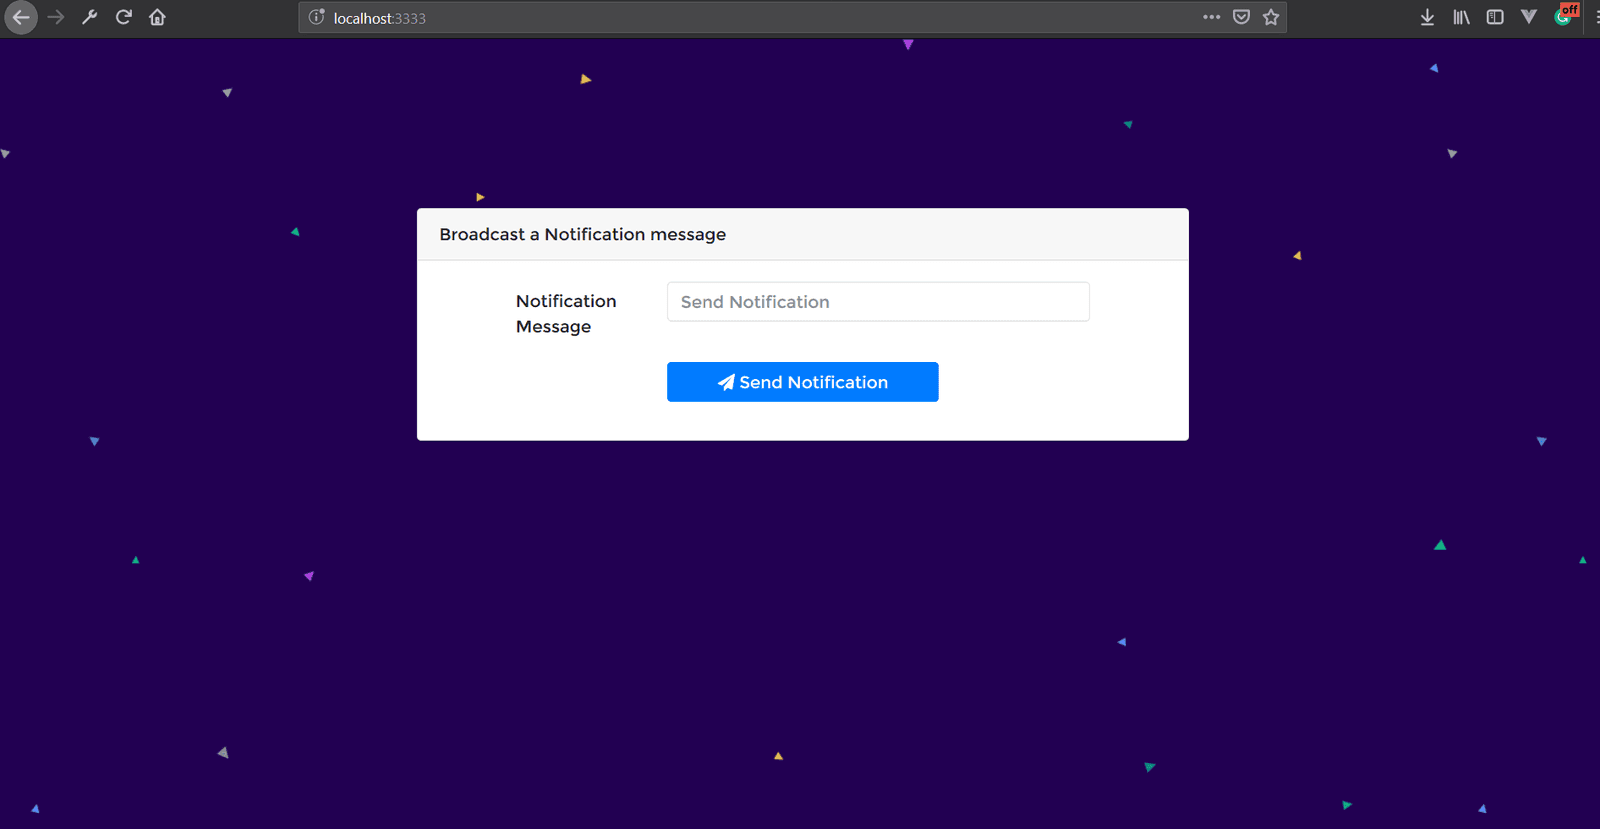
Edit the welcome view
Go to the resources/views directory and replace the content of welcome.edge file with:
1<!DOCTYPE html> 2 <html lang="en"> 3 <head> 4 <meta charset="UTF-8"/> 5 <title>Hello Adonis</title> 6 <link rel="stylesheet" href="https://cdnjs.cloudflare.com/ajax/libs/font-awesome/4.7.0/css/font-awesome.min.css"> 7 <link rel="stylesheet" 8 href="https://cdnjs.cloudflare.com/ajax/libs/twitter-bootstrap/4.0.0-beta/css/bootstrap.min.css"> 9 {{ style('style') }} 10 </head> 11 <body> 12 13 <div id="app" class="container" style="margin-top: 160px"> 14 <div class="row"> 15 <div class="col-md-2"></div> 16 <div class="col-md-8"> 17 <div class="card"> 18 <div class="card-header">Broadcast a Notification message</div> 19 <div class="card-body"> 20 <div class="container"> 21 <div class="row justify-content-md-center"> 22 <div class="col col-md-10"> 23 @if(old('status')) 24 <div class="alert alert-success" role="alert"> 25 <button type="button" class="close" data-dismiss="alert" aria-label="Close"> 26 <span aria-hidden="true">×</span> 27 </button> 28 {{ old('status') }} 29 </div> 30 @endif 31 <form method="POST" action="{{ route('sendNotification') }}"> 32 {{ csrfField() }} 33 <div class="form-group row"> 34 <label class="col-md-3 col-form-label"> 35 36 Notification Message 37 </label> 38 <div class="col-md-9"> 39 <input type="text" name="message" placeholder="Send Notification" 40 autocomplete="off" 41 class="form-control" required> 42 </div> 43 </div> 44 <div class="form-group row"> 45 <div class="col-md-3"></div> 46 <div class="col-md-6"> 47 <button type="submit" class="btn btn-primary btn-block"> 48 <i class="fa fa-btn fa-paper-plane"></i> Send Notification 49 </button> 50 </div> 51 </div> 52 </form> 53 </div> 54 </div> 55 </div> 56 </div> 57 </div> 58 </div> 59 </div> 60 </div> 61 62 {{ script('https://cdnjs.cloudflare.com/ajax/libs/jquery/2.1.4/jquery.min.js') }} 63 {{ script('https://cdnjs.cloudflare.com/ajax/libs/twitter-bootstrap/4.0.0-beta/js/bootstrap.min.js') }} 64 65 </body> 66 </html>
As you can see, we are importing the CSS files using the css method. We do a similar thing with JavaScript, we use script method to import .js. Flash messages are used to display incoming messages from the server. Flash messages are stored temporarily in sessions by the server to display as browser notifications.
Refresh your browser:
Install the Pusher SDK
Create a free sandbox Pusher account or sign in.
Next, create a new Pusher app instance. This registration provides credentials which can be used to communicate with the created Pusher instance. Copy the App ID, Key, Secret, and Cluster from the App Keys section and put them in the .env file located at you project root:
1//.env 2 PUSHER_APP_KEY=<APP_KEY> 3 PUSHER_APP_SECRET=<APP_SECRET> 4 PUSHER_APP_ID=<APP_ID> 5 PUSHER_APP_CLUSTER=<APP_CLUSTER>
We’ll use these keys further in this tutorial to link Pusher with our Adonis project.
Next, we need to install the Pusher SDK as well as other dependencies we need to build our app. We won’t use the Pusher SDK directly but instead use a Pusher provider for Adonis. This provider enables us to use the Pusher SDK easily with the Adonis.js ecosystem. We should first install the Pusher SDK by running this command:
1#if you want to use npm 2 npm install pusher 3 4 #or if you prefer Yarn 5 yarn add pusher
Now, you can install the Pusher provider for Adonis with this command:
1#if you want to use npm 2 npm install adonis-pusher 3 4 #or if you prefer Yarn 5 yarn add adonis-pusher
You will need to add the provider to AdonisJS at start/app.js:
1const providers = [ 2 ... 3 'adonis-pusher/providers/Pusher' 4 ]
Define routes and your controller
In order to make requests to our backend, we need to define our routes and a controller responsible for the logic our app should have.
Type this command in your terminal to create your controller: adonis:make Notification .
Open the routes.js file located at ../start/routes.js and replace the existing code with the following:
1const Route = use('Route') 2 const Event = use('Event') 3 4 Route.on('/').render('welcome') 5 6 Route.post('/sendNotification','NotificationController.sendNotification').as('sendNotification')
The first two lines pull in the Route and Event providers for us. Next we tell our app to render the welcome.edge view to the / get request. And the last route accepts a message from the client and defines the sendNotification function (which we’ll create very soon) for handling the logic.
Now, let’s create our sendNotification function we talked about earlier. Paste this piece of code inside your NotificationController file:
1//../app/Controllers/Http/NotificationController.js 2 'use strict' 3 4 const Event = use('Event'); 5 6 class NotificationController { 7 8 async sendNotification({request, session, response}) { 9 10 let message = request.input('message'); 11 12 Event.emit('send::notification', message) 13 14 session.flash({status: 'Notification sent'}) 15 return response.redirect('back') 16 17 } 18 } 19 20 module.exports = NotificationController
We first pull in the Event service provider, then we accept a message from the client post request.
Last we emit an event named send::notification and redirect the user back with a flash message.
Connecting Adonis and Pusher
Create a filename event.js in the start directory. In this file we’ll create an event which will be fired every time we need to send a message via Pusher Channels, and as it happens a notification via Pusher Channels.
1//../start/events.js 2 const Event = use('Event') 3 const Env = use('Env') 4 const Pusher = use('Pusher') 5 6 let pusher = new Pusher({ 7 appId: Env.get('PUSHER_APP_ID'), 8 key: Env.get('PUSHER_APP_KEY'), 9 secret: Env.get('PUSHER_APP_SECRET'), 10 cluster: Env.get('PUSHER_APP_CLUSTER'), 11 encrypted: false 12 }) 13 14 //fire new event 15 Event.when('send::notification', async (message) => { 16 pusher.trigger('notification-channel', 'new-notification', { 17 message 18 }) 19 })
We need to pull in the Event, Pusher (using the adonis-pusher package we installed earlier) and Env service providers.
Next, we registered a listener for the send::notification event, after which we initialized and configure Pusher. This event was registered in the sendNotification function we created above to handle notification post.
When we are done with the pusher configuration, we trigger a new-notification event on the notification-channel with the trigger method.
Subscribing to Pusher Events and send notifications
The client needs to start listening to these events being emitted by Pusher. Go to the resources/views directory and update your welcome.edge by adding the following code:
1<!-- Include the Pusher Client library --> 2 {{ script('https://js.pusher.com/4.3/pusher.min.js') }} 3 <script> 4 5 //Open a connection to Pusher 6 let notify = ({message}) => { 7 8 if (!("Notification" in window)) { 9 alert("This browser does not support desktop notification"); 10 } 11 12 Notification.requestPermission().then(function (result) { 13 if (result === 'granted') { 14 let notification = new Notification(message) 15 } 16 }); 17 }; 18 19 20 let pusher = new Pusher(YOUR_PUSHER_APP_ID, { 21 cluster: YOUR_PUSHER_CLUSTER, 22 encrypted: false 23 }); 24 25 //Subscribe to the channel we specified in our Adonis Application 26 let channel = pusher.subscribe('notification-channel'); 27 28 //Listen for events on the channel 29 channel.bind('new-notification', (data) => { 30 notify(data) 31 }) 32 33 34 </script>
First, we include the Pusher client library in order to use Pusher instance from our browser.
As you can see we also create a notify function. This function takes the message we intend to send as a push notification in parameter, checks if browser push notifications are supported by the browser and display a new notification to us.
Next, we initialize the Pusher service by passing in our App Key (replace with your actual keys), and some other options (cluster, encrypted). The initialized instance is used to subscribe to the notification-channel channel.
Finally, we listened to the new-notification event and send notifications with the notify function we created earlier.
Conclusion
In summary, we learned how we can use Pusher Channels to send notifications from an Adonis.js backend. Events sent by Pusher Channels are listened on the client side and displayed as a push notifications using browser notifications web API. You can find the full source code on GitHub here.


© 2024 Pusher Ltd. All rights reserved.
Pusher Limited is a company registered in England and Wales (No. 07489873) whose registered office is at MessageBird UK Limited, 3 More London Riverside, 4th Floor, London, United Kingdom, SE1 2AQ.