- Products

- Developers
- User stories
- Blog
- Pricing

Send Push Notifications to your Android app
Introduction
Pusher Beams SDKs and API make it easy to send push notifications to all of your iOS and Android users with one request.
The service manages manages your app credentials and the lifecycle of device tokens which are required for every request to the Google Firebase Cloud Messaging (FCM) service and APNs for your iOS devices.
You can subscribe your app user’s registered device to Interests, which act like persistent Pub/Sub topics, so that you can update many devices with the same request. Create as many interests as you need, and send unlimited push notifications.
This tutorial walks you through the steps to start sending push notifications to your Android app users with Pusher Beams SDKs and API.
Step 1 - Sign up for a Pusher account
Before we can start building, create a free sandbox Pusher account or sign in.
Step 2 - Set up your free Beams instance
Go to the Pusher dashboard and create your first Beams instance. With a free plan, you can send unlimited push notifications to up to 1000 devices during a billing month.
This will take you to our quickstart wizard:
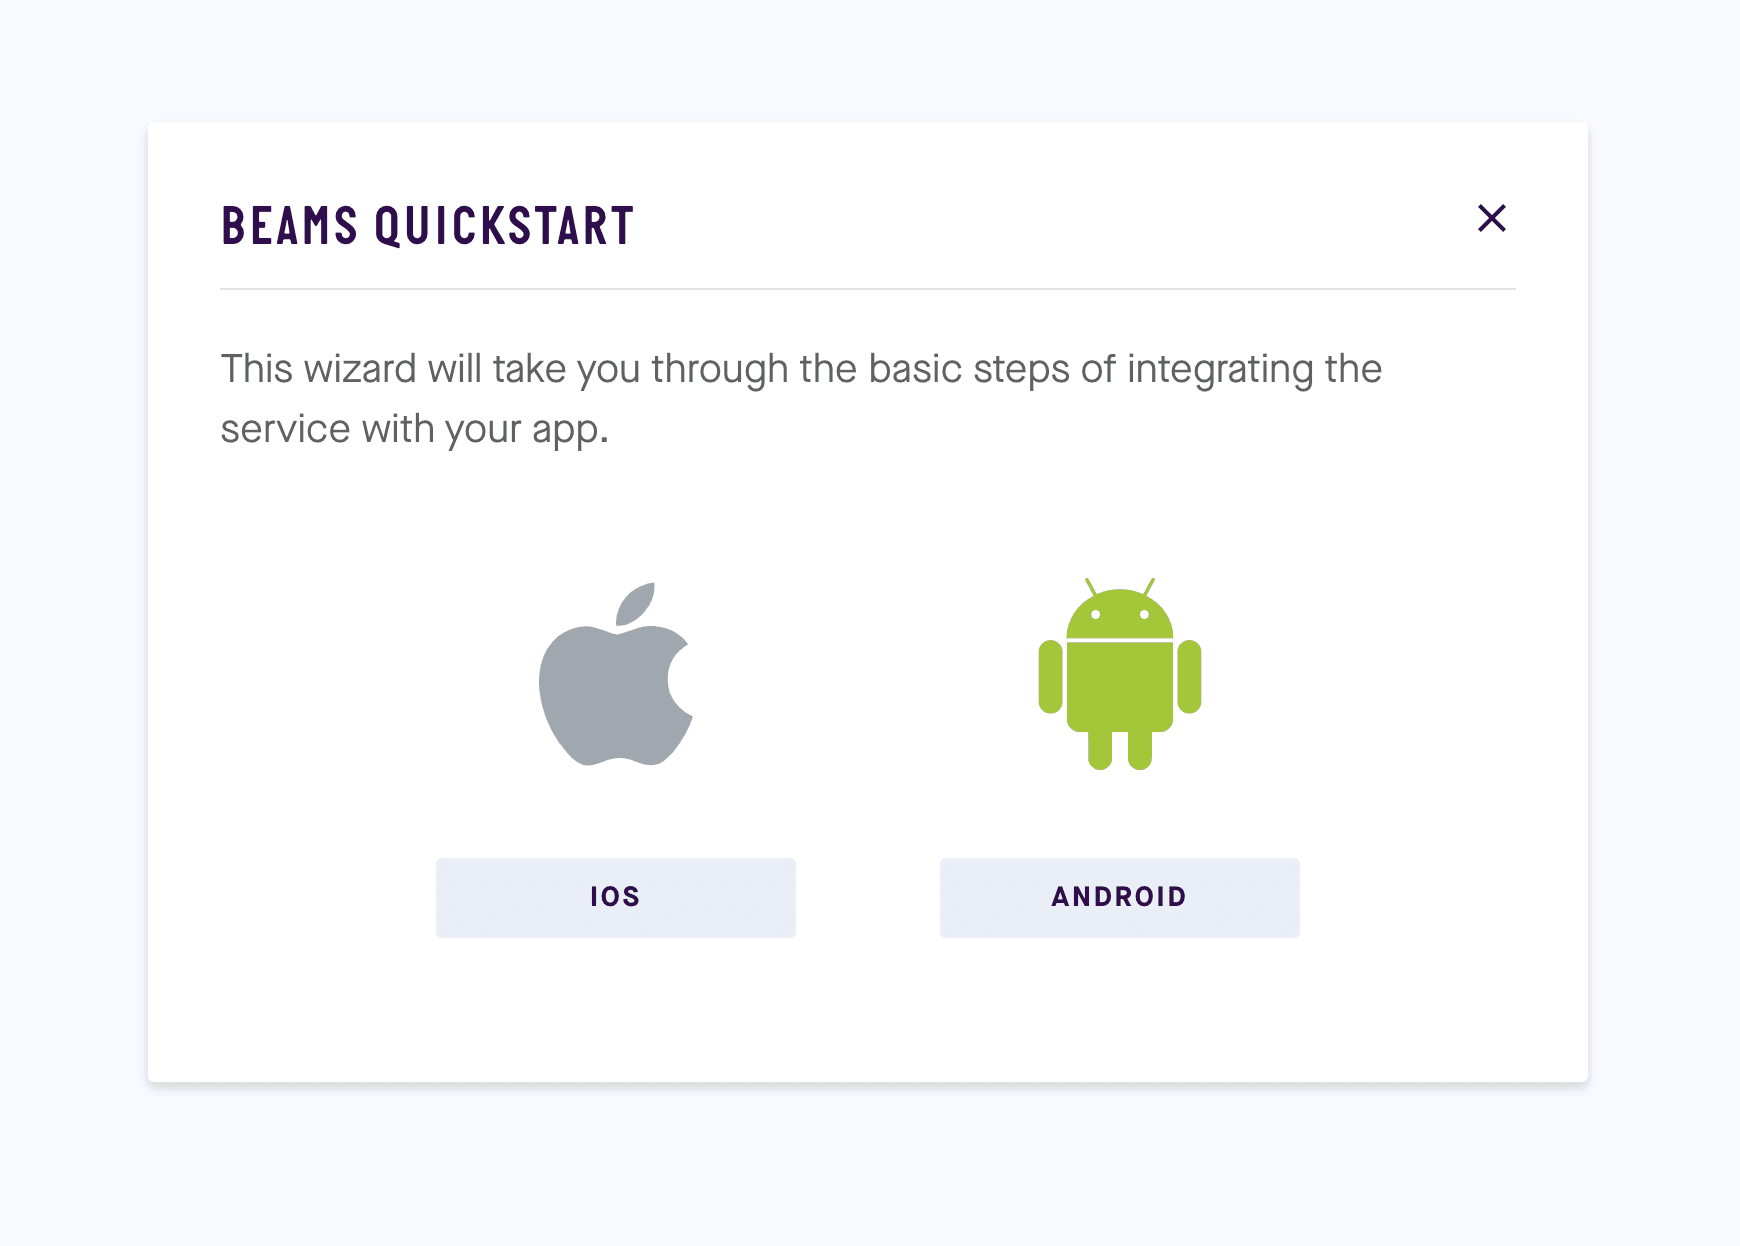
The Quickstart will guide you through the following steps:
Configuring FCM
The first step of the Quickstart involves configuring your credentials with FCM.
All push notifications requests for Android devices go through Firebase Cloud Messaging (FCM), Google’s service which delivers them to the device.
Pusher SDKs and API are abstracted above FCM as well as Apple’s APNs service so that you can deliver push notifications to both platforms with one request. Pusher manages the Server Key and Device Token for each request.
Follow this guide on how to get a FCM Server Key.
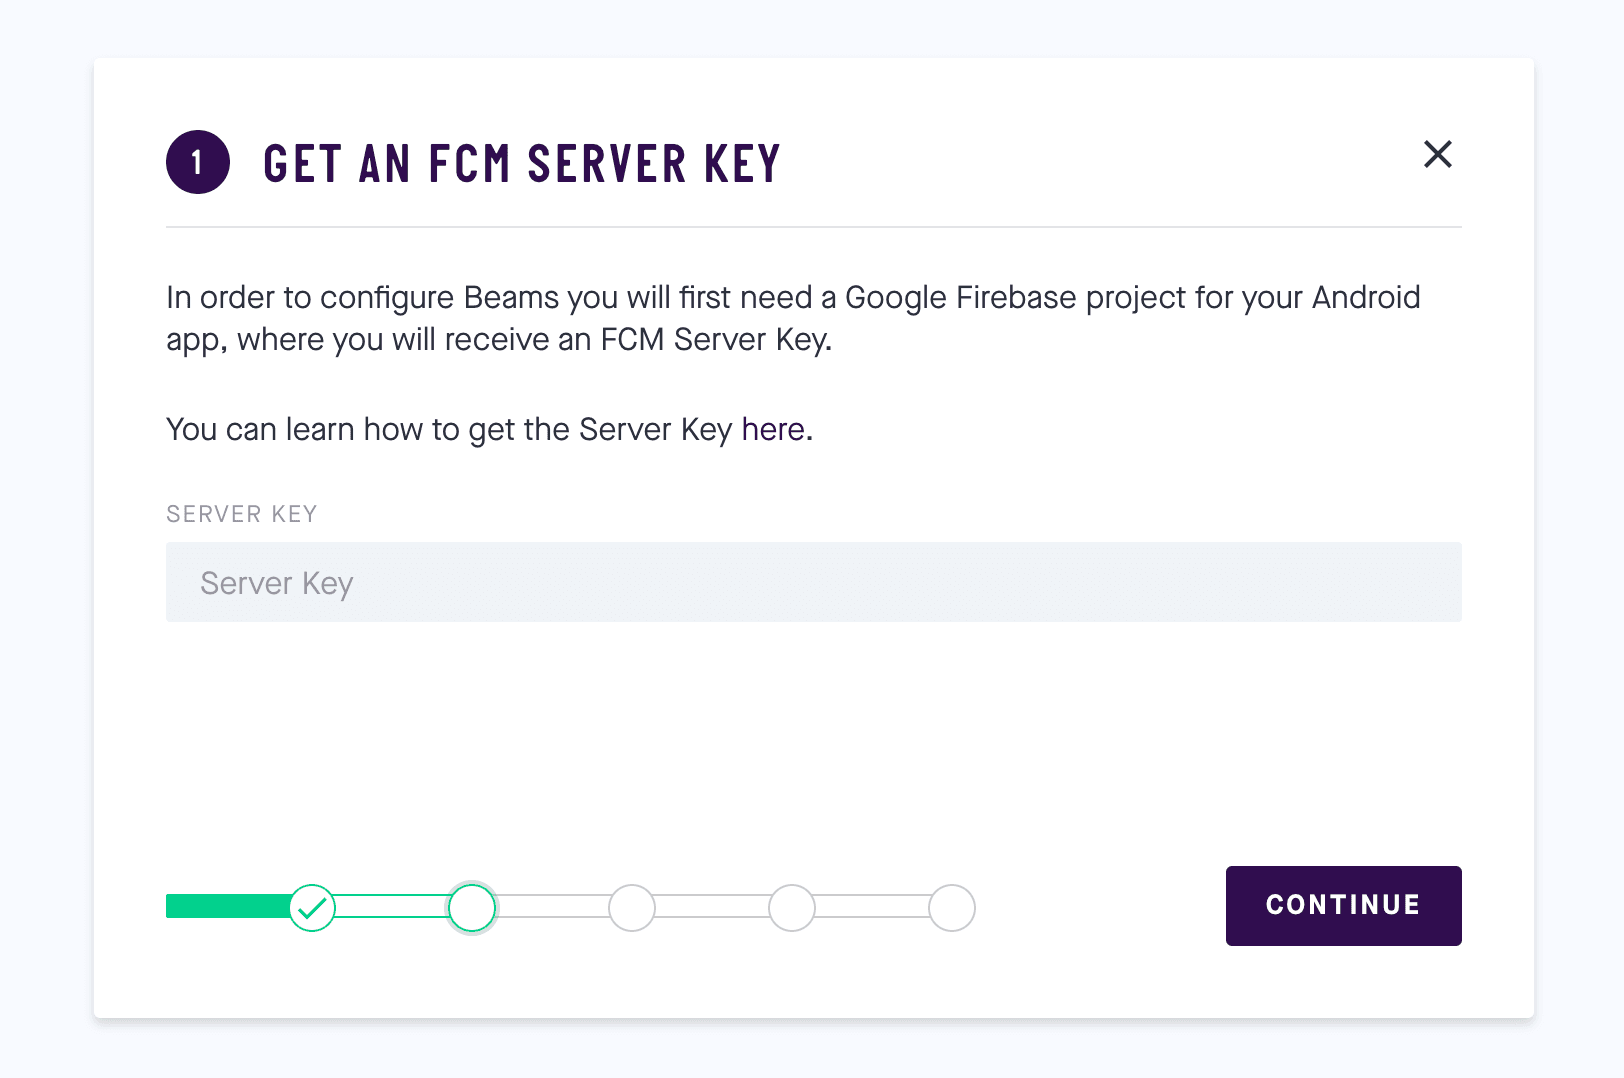
Uploading your FCM Server Key
After you have configured FCM the next step is to upload your FCM Server Key through the Quickstart wizard:
Step 3 - Integrating the Beams SDK into your Android project
Now you will integrate the Beams SDK into your Android project. This will send the Device Token to the Pusher Beams service, which manages its lifecycle if it changes or if the user uninstalls the app.
You will start by adding the necessary dependencies to your project build.gradle:
1buildscript { 2 ... 3 4 dependencies { 5 classpath 'com.google.gms:google-services:4.0.1' 6 } 7 }
And your app build.gradle:
1dependencies { 2 ... 3 4 implementation 'com.google.firebase:firebase-core:16.0.1' 5 implementation 'com.google.firebase:firebase-messaging:17.1.0' 6 implementation 'com.pusher:push-notifications-android:1.4.0' 7 } 8 9 // Add this line to the end of the file 10 apply plugin: 'com.google.gms.google-services'
You can now register the Device Token with the Beams service. All you have to do is import the SDK:
import com.pusher.pushnotifications.PushNotifications;
Then register the Device Token at the appropriate point in your application lifecycle and subscribe your device to an interest hello:
1@Override 2 protected void onCreate(Bundle savedInstanceState) { 3 super.onCreate(savedInstanceState); 4 setContentView(R.layout.activity_main); 5 PushNotifications.start(getApplicationContext(), "YOUR_INSTANCE_ID"); 6 PushNotifications.addDeviceInterest("hello"); 7 }
When your server publishes a push notification to the interest hello, it will get passed to your app.
You can find more information on this step here.
Step 4 - Start sending notifications
Push notifications are triggered by your server to your Beams instance. After a device using your Android application subscribes to an interest on our service, your server can then send a push notification to that device by publishing to that interest.
In this example we’ll use Node.js. First, let’s install the dependency:
$ npm install @pusher/push-notifications-server --save
In our JavaScript file, create a Beams instance with the app credentials shown on our dashboard. Then call publishToInterests with an array of interests and a payload. Every device subscribed to the interests specified in the array will receive a push notification.
To send via FCM, the payload key will be fcm:
1const PushNotifications = require('@pusher/push-notifications-server'); 2 3 let pushNotifications = new PushNotifications({ 4 instanceId: 'YOUR_INSTANCE_ID_HERE', 5 secretKey: 'YOUR_SECRET_KEY_HERE', 6 }); 7 8 pushNotifications 9 .publishToInterests(['hello'], { 10 fcm: { 11 notification: { 12 title: 'Hello World', 13 body: 'Hello!', 14 }, 15 }, 16 }) 17 .then(publishResponse => { 18 console.log('Just published:', publishResponse.publishId); 19 }) 20 .catch(error => { 21 console.log('Error:', error); 22 });
If you run your mobile app and put it into background mode, then run this script – you should see your notification. Neat, huh?
Didn’t see the push notification? Notifications are not displayed whilst the app is in the foreground. Try minimizing your app by pressing the home button before the push notification arrives.
You can send push notifications from your server by using one of our server SDKs. We currently support many languages including PHP, Python, Node.js, and Java.


© 2026 Pusher Ltd. All rights reserved.
Pusher Limited is a company registered in England and Wales (No. 07489873) whose registered office is at MessageBird UK Limited, 3 More London Riverside, 4th Floor, London, United Kingdom, SE1 2AQ.