- Products

- Developers
- User stories
- Blog
- Pricing

Create a live stocks application with push notifications for iOS
- Introduction
- Prerequisites
- Creating your iOS project
- Installing dependencies using CocoaPods
- Building the iOS application
- Creating the settings class
- Creating our view controller
- Creating supporting classes
- Creating our custom cell
- Updating the AppDelegate and turning on push notifications
- Building the backend API
- Testing the application
- Conclusion
Introduction
In this article, we will see how you can build a stock market application using iOS and Swift. The prices will update in realtime as the changes to the prices occur. More importantly, though, you will be able to activate push notifications on certain stocks so you get notified when the prices of the stock changes.
When we are done, we will have an application that functions like this:
Prerequisites
To follow along in this tutorial you need the following things:
- Xcode installed on your machine. Download here.
- Know your way around the Xcode IDE.
- Basic knowledge of the Swift programming language.
- Basic knowledge of JavaScript.
- Node.js installed on your machine. Download here.
- CocoaPods installed on your machine. Install here.
- A Pusher account. Create a free sandbox Pusher account or sign in. We'll be using Channels and Beams
Let’s get started.
Creating your iOS project
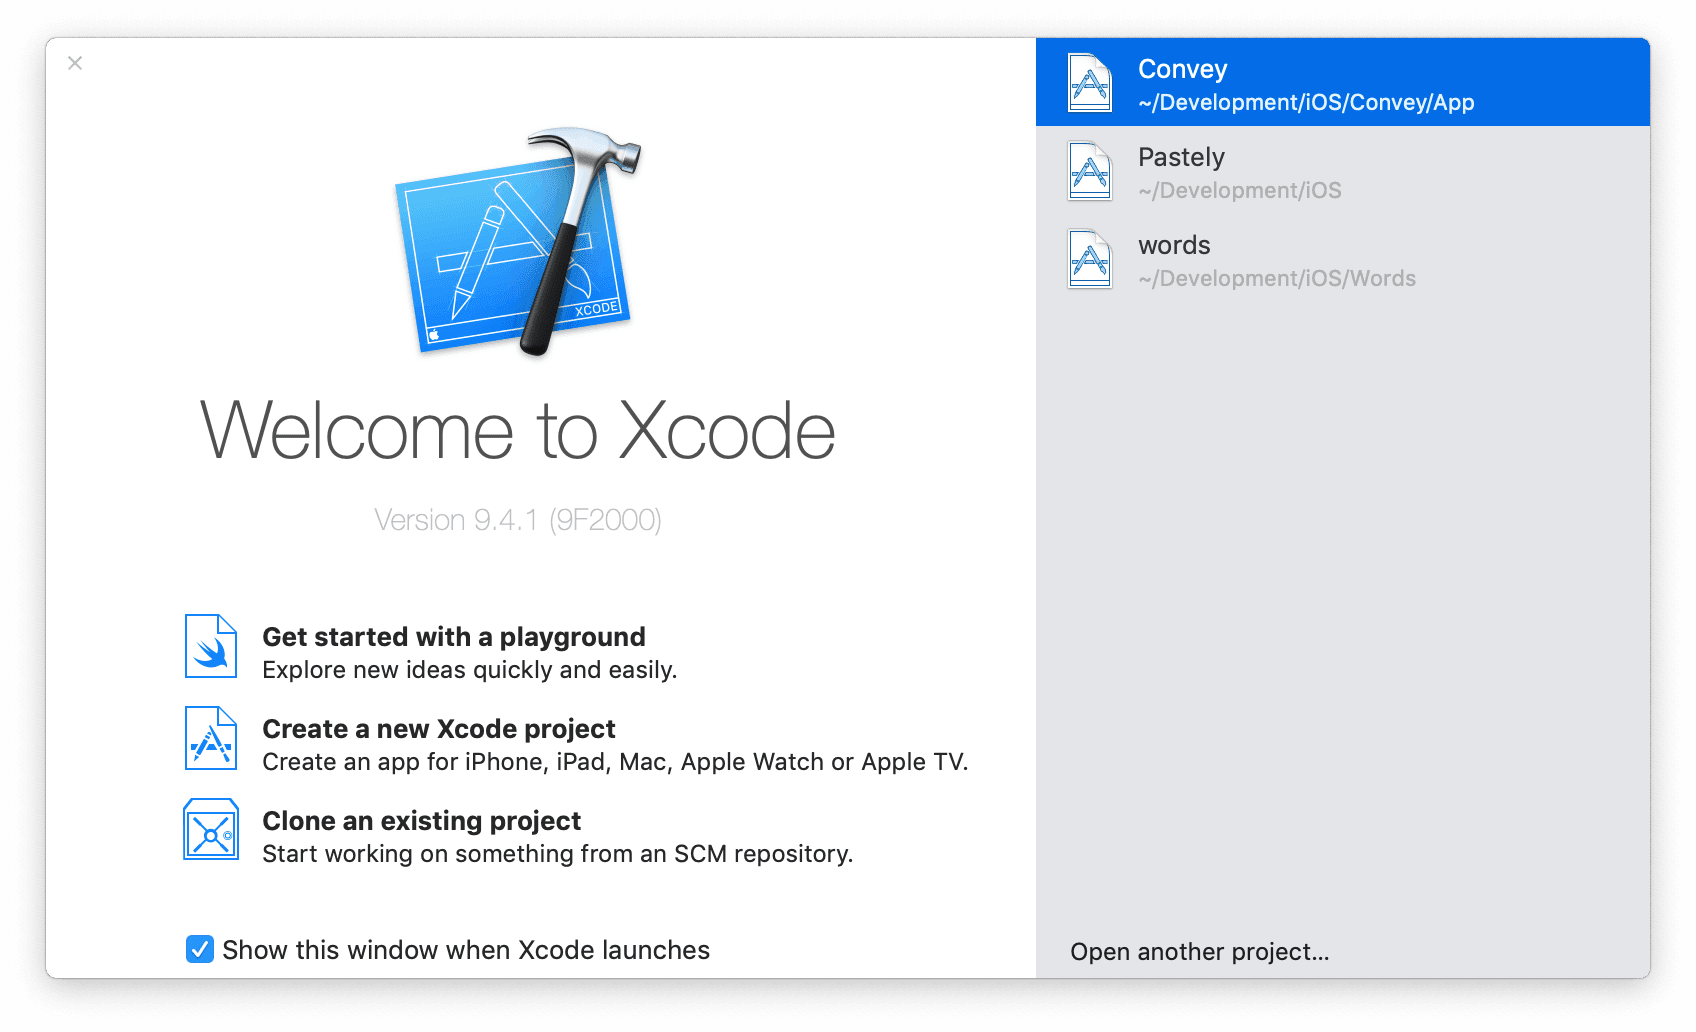
The first thing we need to do is create the project in Xcode. Launch Xcode and click Create a new Xcode project.
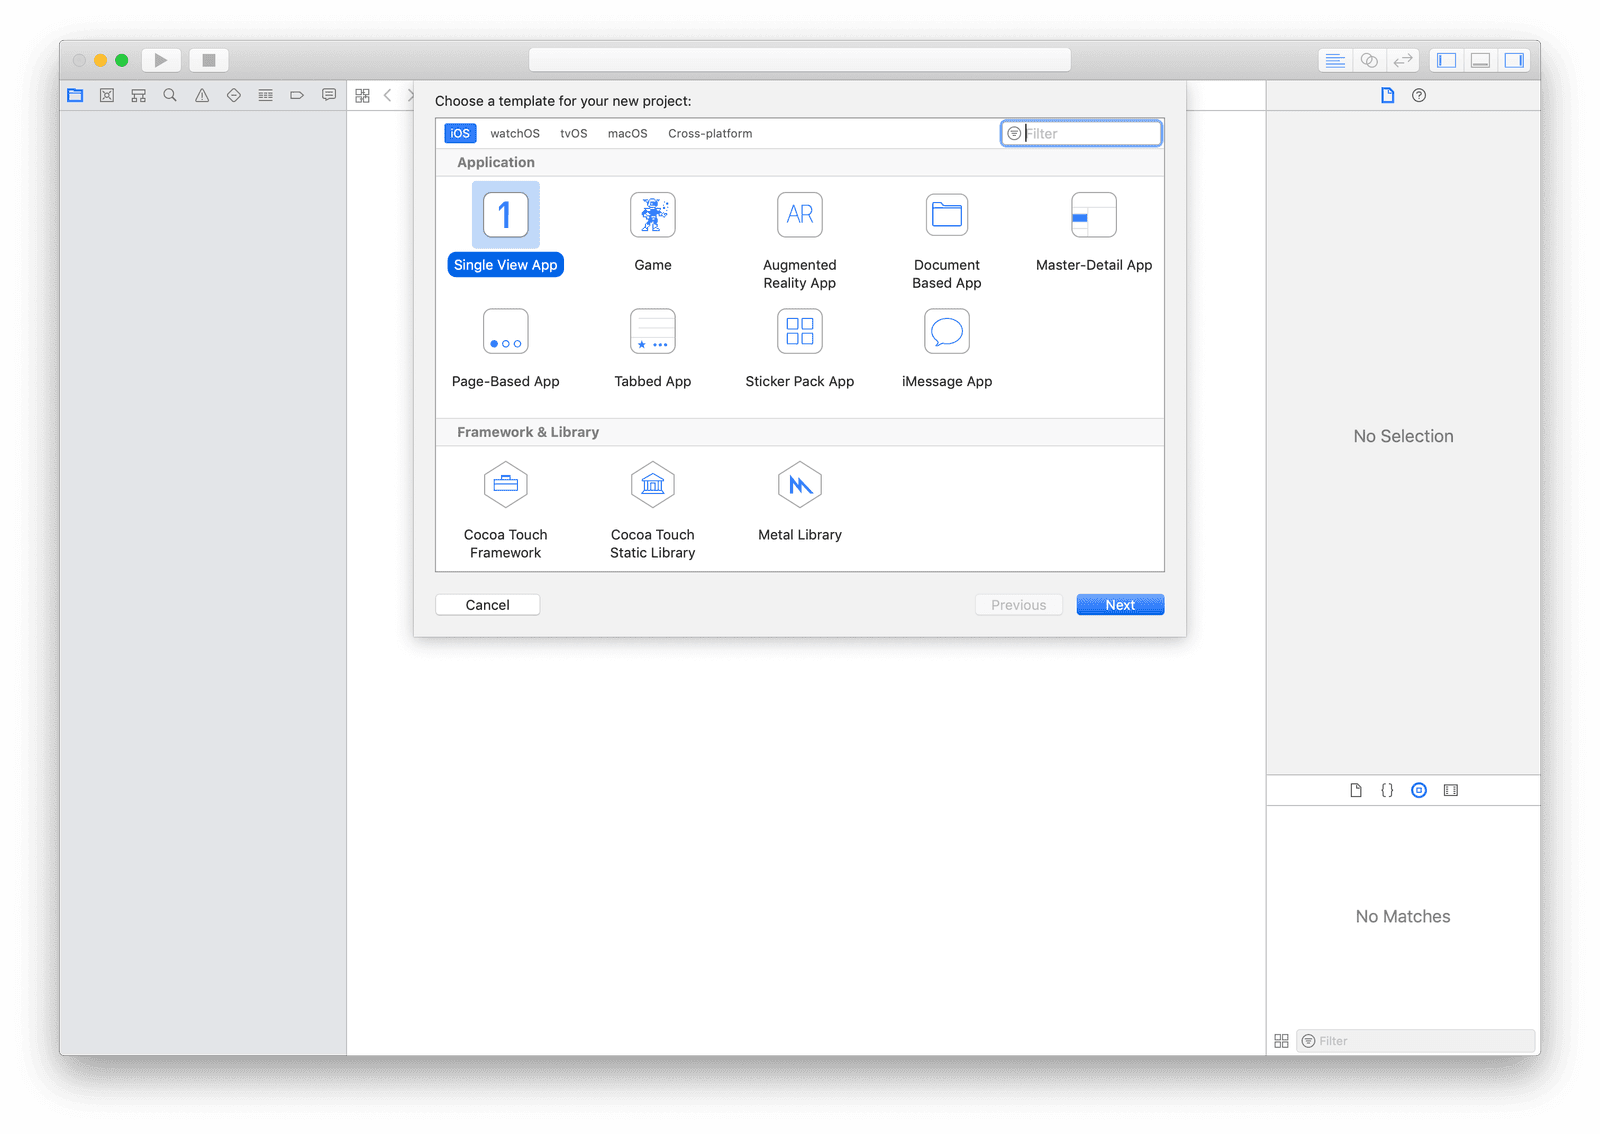
From the next screen, select Single View App > Next then give the project a name. Let’s name it something really creative, like Stocks.
Installing dependencies using CocoaPods
Now that we have our project set up, we need to add some external libraries to the project. These libraries will be used for various functions like push notifications and HTTP requests.
First close Xcode. Next, create a new Podfile in the root of your project and paste the following code:
1# File: ./Podfile 2 platform :ios, '11.0' 3 4 target 'Stocks' do 5 use_frameworks! 6 pod 'Alamofire', '~> 4.7.3' 7 pod 'PusherSwift', '~> 6.1.0' 8 pod 'PushNotifications', '~> 1.0.1' 9 pod 'NotificationBannerSwift', '~> 1.6.3' 10 end
Above, we are using the Podfile to define the libraries our project will be depending on to work. Here are the libraries we have:
- Alamofire - an HTTP networking library written in Swift.
- PusherSwift - the iOS library for Pusher.
- PushNotifications - Swift SDK for Pusher Beams.
- NotificationBannerSwift - easy way to display app notification banners in iOS apps.
Now that we have defined the dependencies, let’s install them. Open your terminal and cd to the project root and run this command:
$ pod update
This will install all the dependencies listed in the Podfile. We are using the update command because we want the latest versions of the libraries, which may have changed since writing this article.
When the installation is complete, we will have a new Stocks.xcworkspace file in the root of the project. Going forward, we will have to open our iOS project using this Xcode workspace file.
Building the iOS application
The first thing we want to do is consider how the entire service will work. We will build two applications. One will be the iOS application and the other will be a backend, which will be built with JavaScript (Node.js).
In this section, we will start with the iOS application. Open the Stocks.xcworkspace file in Xcode and let’s start building the iOS app.
Creating the settings class
The first thing we are going to do is create a notification settings class. This will be responsible for storing the notification settings for a device. When you subscribe for push notifications on a certain stock, we will store the setting using this class so that the application is aware of the stocks you turned on notifications for.
Create a new Swift class named STNotificationSettings and paste the following code:
1// File: ./Stocks/STNotificationSettings.swift
2 import Foundation
3
4 class STNotificationSettings: NSObject {
5 static let KEY = "ST_NOTIFICATIONS"
6 static let shared = STNotificationSettings()
7
8 private override init() {}
9
10 private var settings: [String: Bool] {
11 get {
12 let key = STNotificationSettings.KEY
13
14 if let settings = UserDefaults.standard.object(forKey: key) as? [String: Bool] {
15 return settings
16 }
17
18 return [:]
19 }
20 set(newValue) {
21 var settings: [String: Bool] = [:]
22
23 for (k, v) in newValue {
24 settings[k.uppercased()] = v
25 }
26
27 UserDefaults.standard.set(settings, forKey: STNotificationSettings.KEY)
28 }
29 }
30
31 func enabled(for stock: String) -> Bool {
32 if let stock = settings.first(where: { $0.key == stock.uppercased() }) {
33 return stock.value
34 }
35
36 return false
37 }
38
39 func save(stock: String, enabled: Bool) {
40 settings[stock.uppercased()] = enabled
41 }
42 }
In the class above, we have a static property, key, that is just used as the key for the preference that will hold all our settings. This key will be used for lookup and storage of the settings in the iOS file system.
We also have a shared static property, which holds an instance of the class. We want this class to be instantiated once. This is also why we have made our init method private.
Next, we have the settings property. This is a computed property that provides a getter and a setter to retrieve and set other properties and values indirectly. The getter just retrieves the settings data from the filesystem, while the setter saves the settings to the filesystem.
We have two methods in the class, enabled(for:) and save(stock:enabled:). The first one checks if push notifications are enabled for a stock, while the second saves the setting for a stock.
That’s all for the settings class.
Creating our view controller
The next thing we want to do is create the view controller. We will start by creating a view controller class, then we will create a view controller in the storyboard. We will then connect the class to the storyboard.
Create a new table view controller named StocksTableViewController and replace the contents with this:
1// File: ./Stocks/StocksTableViewController.swift 2 import UIKit 3 import Alamofire 4 import PusherSwift 5 import PushNotifications 6 import NotificationBannerSwift 7 8 class StocksTableViewController: UITableViewController { 9 }
We will get back to this class, but for now, leave it and open the Main.storyboard file. In the storyboard, drag a new table view controller to the canvas. Next, drag the arrow from the old view controller that was in the storyboard to the new table view controller and then delete the old view controller.
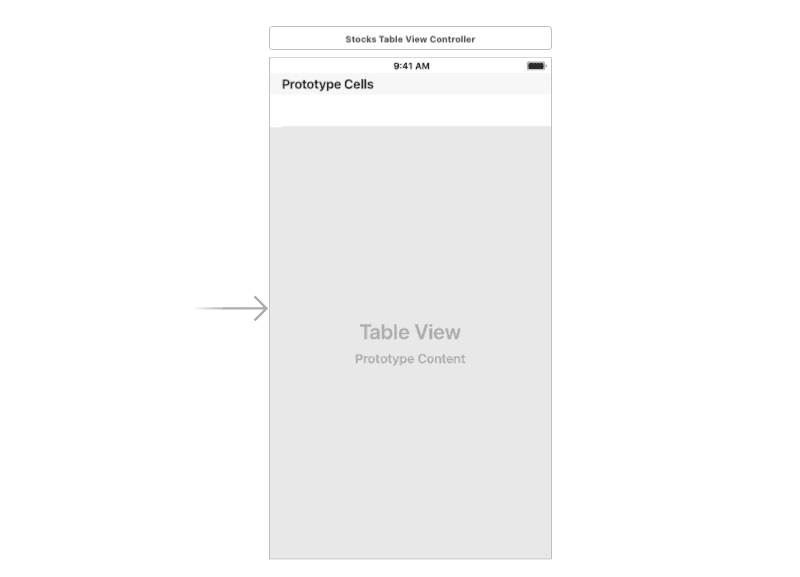
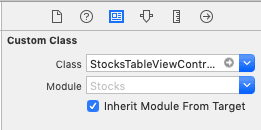
Next, open the Identity Inspector and set the custom class for the table view controller to StocksTableViewController. This will connect the class we created earlier to this table view controller we have on the storyboard.
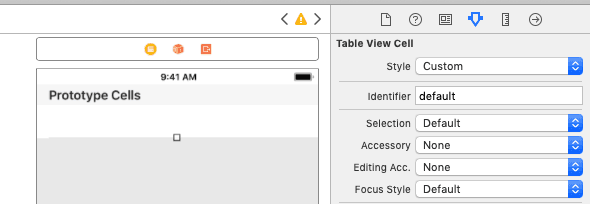
Finally, set the reuse Identifier on the cell to ‘default’. We will not be using the cells that come with this table view controller, but we still need to set the identifier so Swift does not whine about it.
Next, open the StocksTableViewController class and let's start adding logic to it. Update the class as seen below:
1// [...]
2
3 class StocksTableViewController: UITableViewController {
4 var stocks: [Stock] = []
5
6 var pusher: Pusher!
7 let pushNotifications = PushNotifications.shared
8 let notificationSettings = STNotificationSettings.shared
9
10 override func viewDidLoad() {
11 super.viewDidLoad()
12 }
13
14 override func numberOfSections(in tableView: UITableView) -> Int {
15 return 1
16 }
17
18 override func tableView(_ tableView: UITableView, numberOfRowsInSection section: Int) -> Int {
19 return stocks.count
20 }
21
22 override func tableView(_ tableView: UITableView, cellForRowAt indexPath: IndexPath) -> UITableViewCell {
23 let cell = tableView.dequeueReusableCell(withIdentifier: "stock", for: indexPath) as! StockCell
24 cell.stock = stocks[indexPath.row]
25 return cell
26 }
27 }
Above we have a few properties we have defined:
stocks- this holds an array ofStockitems. This is the data that will be displayed on each table cell. TheStockis a model we have not created but will later on.pusher- this holds thePusherSwiftlibrary instance. We will use it to connect to Pusher and update the cells in realtime.pushNotifications- this holds a singleton of thePushNotificationslibrary. We will use this to subscribe and unsubscribe from interests.notificationSettings- this holds a singleton of theSTNotificationSettingsclass. We will use this to get the setting for each stock when necessary.
The methods we have defined above are standard with iOS development and should not need explanation.
However, in the tableView(_:cellForRowAt:) method, we do something a little different. We get an instance of StockCell, which we have not created, and then assign a Stock item to the cell. Later on, we will see how we can use the didSet property observer to neatly populate the cell.
In the same class, add the following methods:
1// [...]
2
3 override func tableView(_ tableView: UITableView, didSelectRowAt indexPath: IndexPath) {
4 let cell = tableView.cellForRow(at: indexPath) as! StockCell
5 if let stock = cell.stock {
6 showNotificationSettingAlert(for: stock)
7 }
8 }
9
10 private func showNotificationSettingAlert(for stock: Stock) {
11 let enabled = notificationSettings.enabled(for: stock.name)
12 let title = "Notification settings"
13 let message = "Change the notification settings for this stock. What would you like to do?"
14
15 let alert = UIAlertController(title: title, message: message, preferredStyle: .actionSheet)
16
17 let onTitle = enabled ? "Keep on" : "Turn on notifications"
18 alert.addAction(UIAlertAction(title: onTitle, style: .default) { [unowned self] action in
19 guard enabled == false else { return }
20 self.notificationSettings.save(stock: stock.name, enabled: true)
21
22 let feedback = "Notfications turned on for \(stock.name)"
23 StatusBarNotificationBanner(title: feedback, style: .success).show()
24
25 try? self.pushNotifications.subscribe(interest: stock.name.uppercased())
26 })
27
28 let offTitle = enabled ? "Turn off notifications" : "Leave off"
29 let offStyle: UIAlertActionStyle = enabled ? .destructive : .cancel
30 alert.addAction(UIAlertAction(title: offTitle, style: offStyle) { [unowned self] action in
31 guard enabled else { return }
32 self.notificationSettings.save(stock: stock.name, enabled: false)
33
34 let feedback = "Notfications turned off for \(stock.name)"
35 StatusBarNotificationBanner(title: feedback, style: .success).show()
36
37 try? self.pushNotifications.unsubscribe(interest: stock.name.uppercased())
38 })
39
40 present(alert, animated: true, completion: nil)
41 }
42
43 // [...]
Above, we added two new methods:
tableView(_:didSelectRowAt:)- this is a default table view controller method that is fired when a row is selected in the table. In this method, we get the row that was tapped, and then show an alert that we can use to configure the push notification setting for that stock.showNotificationSettingAlert- this is invoked from the method above. It contains all the actual logic required to display the notification settings alert. The alert will look like this when the application is ready:
Next, let’s update the viewDidLoad() method. Replace the viewDidLoad() method with the following code:
1// [...]
2
3 override func viewDidLoad() {
4 super.viewDidLoad()
5
6 fetchStockPrices()
7
8 tableView.separatorInset.left = 0
9 tableView.backgroundColor = UIColor.black
10
11 let customCell = UINib(nibName: "StockCell", bundle: nil)
12 tableView.register(customCell, forCellReuseIdentifier: "stock")
13
14 pusher = Pusher(
15 key: AppConstants.PUSHER_APP_KEY,
16 options: PusherClientOptions(host: .cluster(AppConstants.PUSHER_APP_CLUSTER))
17 )
18
19 let channel = pusher.subscribe("stocks")
20 let _ = channel.bind(eventName: "update") { [unowned self] data in
21 if let data = data as? [[String: AnyObject]] {
22 if let encoded = try? JSONSerialization.data(withJSONObject: data, options: .prettyPrinted) {
23 if let stocks = try? JSONDecoder().decode([Stock].self, from: encoded) {
24 self.stocks = stocks
25 self.tableView.reloadData()
26 }
27 }
28 }
29 }
30
31 pusher.connect()
32 }
33
34 // [...]
Above, we do a couple of things. First, we call the fetchStockPrices() method, which we will define later, to fetch all the stock prices from a backend API. Then we changed the background color of the table view to black.
We registered the non-existent custom cell, StockCell, which we referenced earlier in the article. We finally used the pusher instance to connect to a Pusher channel, stock, and also bind to the update event on that channel. When the event is fired, we decode the data into the stocks property using Codable and reload the table to show the new changes.
Related: Swift 4 decoding JSON using Codable
Below the showNotificationSettingAlert(for:) method in the same class, add the following method:
1// [...]
2
3 private func fetchStockPrices() {
4 Alamofire.request(AppConstants.ENDPOINT + "/stocks")
5 .validate()
6 .responseJSON { [unowned self] resp in
7 guard let data = resp.data, resp.result.isSuccess else {
8 let msg = "Error fetching prices"
9 return StatusBarNotificationBanner(title: msg, style: .danger).show()
10 }
11
12 if let stocks = try? JSONDecoder().decode([Stock].self, from: data) {
13 self.stocks = stocks
14 self.tableView.reloadData()
15 }
16 }
17 }
18
19 // [...]
The method above was invoked in the viewDidLoad() method above. It fetches all the stocks from the API using the Alamofire library and then decodes the response to the stocks property using Codable. After this, the table view is reloaded to show the updated stocks data.
That’s all for this class.
We referenced a few non-existent classes in the StocksTableViewController though, let’s create them.
Creating supporting classes
Create a new AppConstants Swift file and paste the following code:
1import Foundation
2
3 struct AppConstants {
4 static let ENDPOINT = "http://127.0.0.1:5000" // Or use your ngrok HTTPS URL
5 static let PUSHER_APP_KEY = "PASTE_PUSHER_APP_KEY_HERE"
6 static let PUSHER_APP_CLUSTER = "PASTE_PUSHER_APP_CLUSTER_HERE"
7 static let BEAMS_INSTANCE_ID = "PASTE_PUSHER_BEAMS_INSTANCE_ID_HERE"
8 }
The struct above serves as our configuration file. It allows us to define one true source of configuration values that we need for the application. At this point, you should create your Pusher Channels and Pusher Beams application if you haven’t already and paste the credentials above.
Next, let’s define the Stock model. Create a new Stock Swift file and paste the following code:
1import Foundation 2 3 struct Stock: Codable { 4 let name: String 5 let price: Float 6 let percentage: String 7 }
Above we have our Stock model which extends the Codable protocol. You can read more about it Codable here.
Creating our custom cell
We referenced the StockCell several times above, so let’s create our custom cell now. We are creating this separately so it is easy to manage and everything is modular.
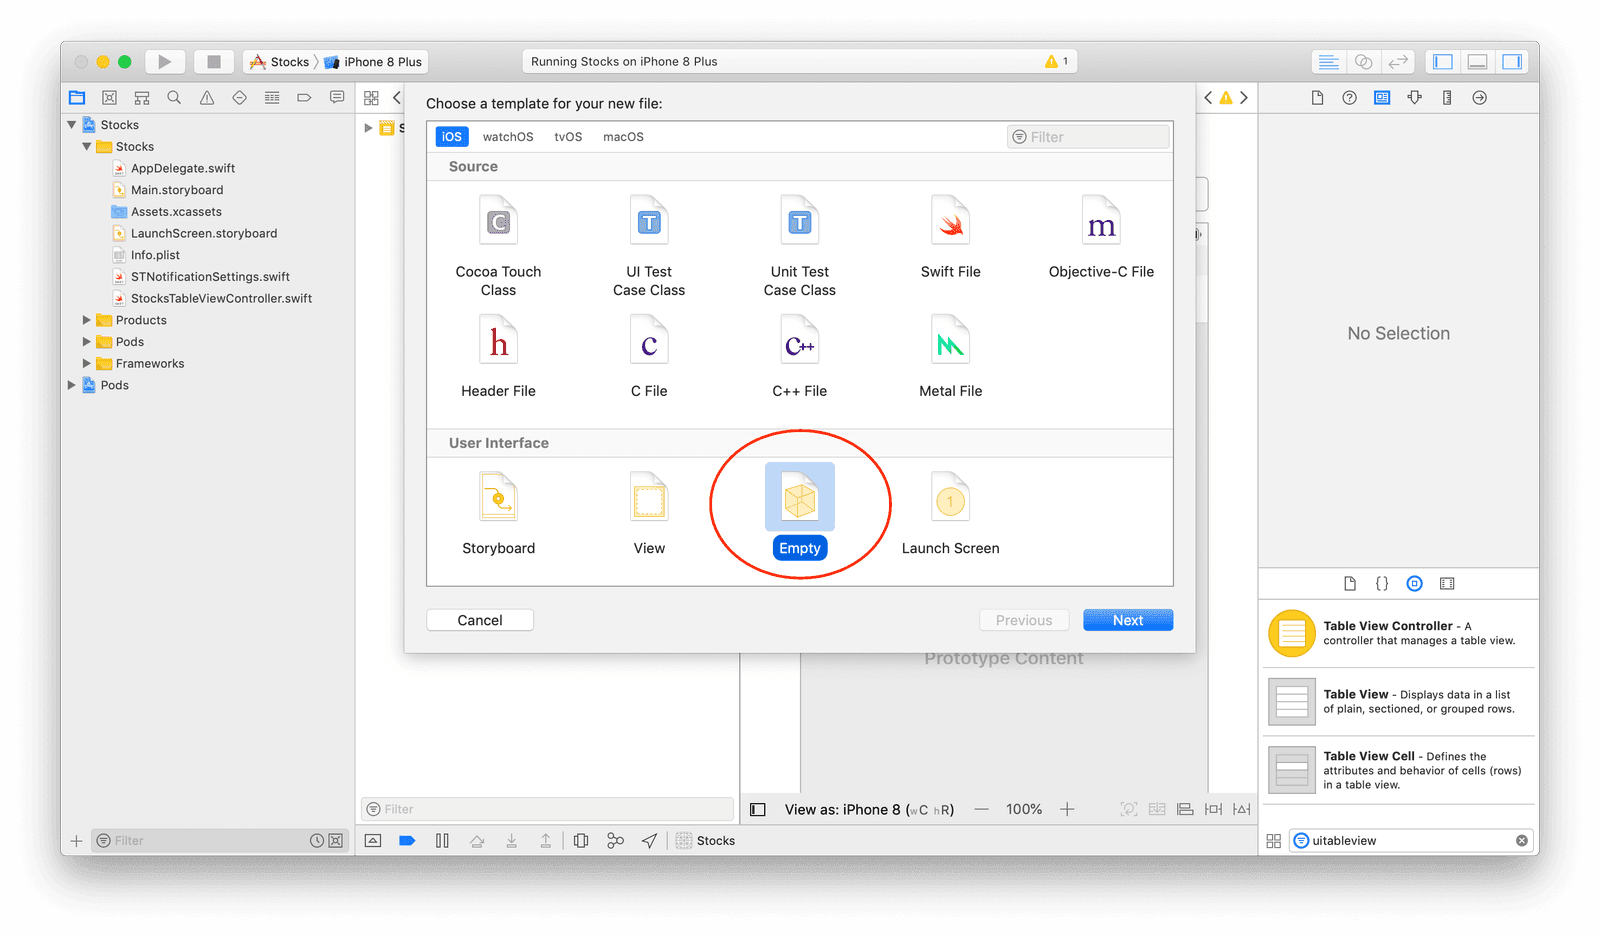
First, create a new Empty view in Xcode as seen below:
Next, drag a new table view cell into the empty canvas. We will be using this as our custom cell. Next, create a new Swift file named StockCell and paste the following code into it:
1import UIKit
2
3 class StockCell: UITableViewCell {
4
5 var stock: Stock? {
6 didSet {
7 if let stock = stock {
8 stockName.text = stock.name
9 stockPrice.text = "\(stock.price)"
10 stockPercentageChange.text = "\(stock.percentage)"
11 percentageWrapper.backgroundColor = stock.percentage.first == "+"
12 ? UIColor.green.withAlphaComponent(0.7)
13 : UIColor.red
14 }
15 }
16 }
17
18 @IBOutlet private weak var stockName: UILabel!
19 @IBOutlet private weak var stockPrice: UILabel!
20 @IBOutlet private weak var percentageWrapper: UIView!
21 @IBOutlet private weak var stockPercentageChange: UILabel!
22
23 override func awakeFromNib() {
24 super.awakeFromNib()
25 percentageWrapper.layer.cornerRadius = 5
26 }
27 }
In the cell class above, we have the stock property which holds a Stock model. The property has the didSet property observer. So anytime the stock property is set, the code in the observer is run. In the observer, we set the private @IBOutlet properties.
This makes our code neat and organized because the StockTableViewController does not have to care about how the stock is handled, it just sets the Stock model to the StockCell and the cell handles the rest.
We have an awakeFromNib() method which is called when the cell is created. We use this to set a corner radius to the view holding the percentage change text.
Next, open the StockCell.xib view, and set the custom class of the view to StockCell. Then design the cell as seen below:
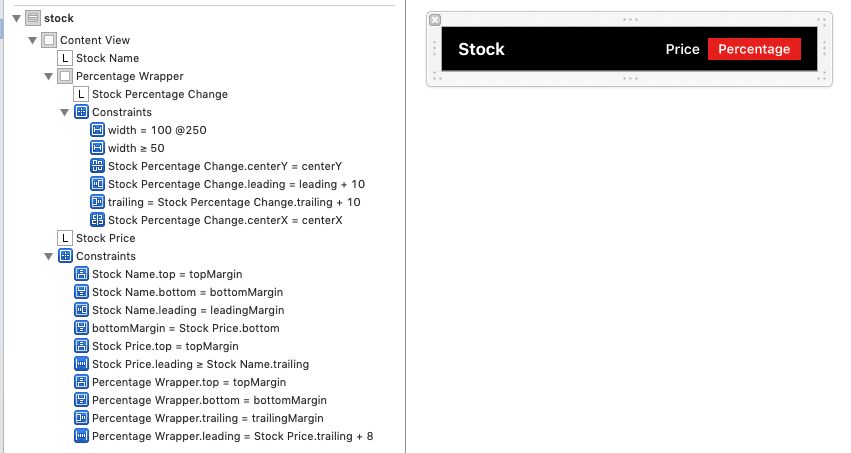
We have used constraints to make sure each item stays in place. You can decide to do the same if you wish.
When you are done designing, connect the labels and views to your StockCell class using the Assistant Editor. This will establish the link between the items in the view and the StockCell's @IBOutlets.

Updating the AppDelegate and turning on push notifications
Open the AppDelegate file and replace the contents with the following:
1import UIKit
2 import PushNotifications
3
4 @UIApplicationMain
5 class AppDelegate: UIResponder, UIApplicationDelegate {
6 var window: UIWindow?
7 let pushNotifications = PushNotifications.shared
8
9 func application(_ application: UIApplication, didFinishLaunchingWithOptions launchOptions: [UIApplicationLaunchOptionsKey: Any]?) -> Bool {
10 pushNotifications.start(instanceId: AppConstants.BEAMS_INSTANCE_ID)
11 pushNotifications.registerForRemoteNotifications()
12 return true
13 }
14
15 func application(_ application: UIApplication, didRegisterForRemoteNotificationsWithDeviceToken deviceToken: Data) {
16 pushNotifications.registerDeviceToken(deviceToken)
17 }
18 }
In the application(_:didFinishLaunchingWithOptions:) method, we start the PushNotifications library and then we register the device for remote notifications. In the application(_:didRegisterForRemoteNotificationsWithDeviceToken:) method, we register the device token with Pusher Beams.
Next, turn on the Push Notification capability for our application as seen below:
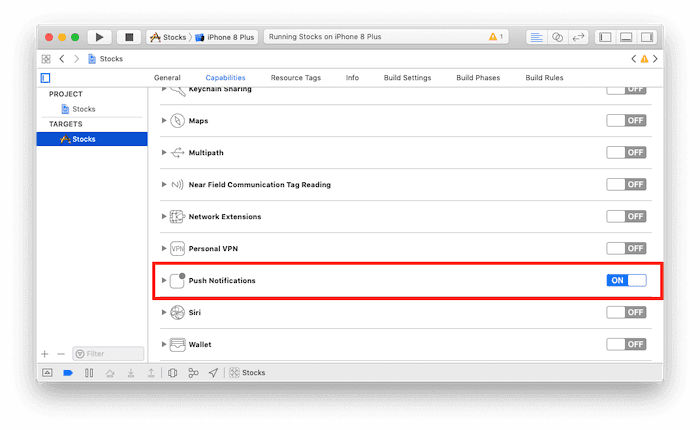
This will add a Stocks.entitlement file in your project root.
One last thing we need to do before we are done with the iOS application is allowing the application load data from arbitrary URLs. By default, iOS does not allow this, and it should not. However, since we are going to be testing locally, we need this turned on temporarily. Open the info.plist file and update it as seen below:
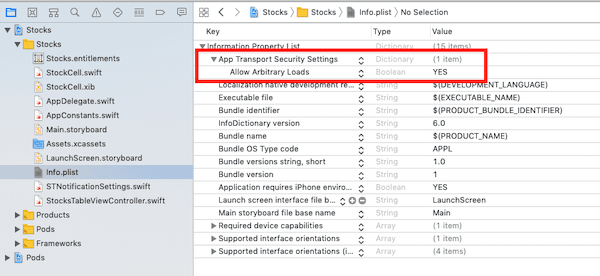
Now, our app is ready, but we still need to create the backend in order for it to work. Let’s do just that.
Building the backend API
Our API will be built using Node.js. The backend will be responsible for providing the available stocks and also sending push notifications when there are changes. It will also push changes to Pusher Channels when there are changes in the stock price. We will be simulating the stock prices for instant results, but you can choose to use a live API.
Create a new directory for your backend application. Inside this project directory, create a new package.json file and paste the following code:
1{ 2 "name": "webapi", 3 "version": "1.0.0", 4 "main": "index.js", 5 "dependencies": { 6 "body-parser": "^1.18.3", 7 "express": "^4.16.3", 8 "pusher": "^2.1.3", 9 "@pusher/push-notifications-server": "1.0.0" 10 } 11 }
Next, open a terminal window, cd to the application directory and run the command below:
$ npm install
This will install the dependencies in the package.json file. Next, create a new config.js file, and paste the following code:
1module.exports = { 2 appId: 'PASTE_PUSHER_CHANNELS_APPID', 3 key: 'PASTE_PUSHER_CHANNELS_KEY', 4 secret: 'PASTE_PUSHER_CHANNELS_SECRET', 5 cluster: 'PASTE_PUSHER_CHANNELS_CLUSTER', 6 secretKey: 'PASTE_PUSHER_BEAMS_SECRET', 7 instanceId: 'PASTE_PUSHER_BEAMS_INSTANCEID' 8 };
Above, we have the configuration values for our Pusher instances. Replace the placeholders above with the keys from your Pusher dashboard.
Finally, create a new file, index.js and paste the following code:
1const express = require('express'); 2 const bodyParser = require('body-parser'); 3 const path = require('path'); 4 const Pusher = require('pusher'); 5 const PushNotifications = require('@pusher/push-notifications-server'); 6 7 const app = express(); 8 const pusher = new Pusher(require('./config.js')); 9 const pushNotifications = new PushNotifications(require('./config.js')); 10 11 function generateRandomFloat(min, max) { 12 return parseFloat((Math.random() * (max - min) + min).toFixed(2)); 13 } 14 15 function getPercentageString(percentage) { 16 let operator = percentage < 0 ? '' : '+'; 17 return `${operator}${percentage}%`; 18 } 19 20 function loadStockDataFor(stock) { 21 return { 22 name: stock, 23 price: generateRandomFloat(0, 1000), 24 percentage: getPercentageString(generateRandomFloat(-10, 10)) 25 }; 26 } 27 28 app.get('/stocks', (req, res) => { 29 let stocks = [ 30 loadStockDataFor('AAPL'), 31 loadStockDataFor('GOOG'), 32 loadStockDataFor('AMZN'), 33 loadStockDataFor('MSFT'), 34 loadStockDataFor('NFLX'), 35 loadStockDataFor('TSLA') 36 ]; 37 38 stocks.forEach(stock => { 39 let name = stock.name; 40 let percentage = stock.percentage.substr(1); 41 let verb = stock.percentage.charAt(0) === '+' ? 'up' : 'down'; 42 43 pushNotifications.publish([stock.name], { 44 apns: { 45 aps: { 46 alert: { 47 title: `Stock price change: "${name}"`, 48 body: `The stock price of "${name}" has gone ${verb} by ${percentage}.` 49 } 50 } 51 } 52 }); 53 }); 54 55 pusher.trigger('stocks', 'update', stocks); 56 57 res.json(stocks); 58 }); 59 60 app.listen(5000, () => console.log('Server is running'));
Above, we have a simple Express application. We have three helper functions:
generateRandomFloat- generates a random float between two numbers.getPercentageString- uses a passed number to generate a string that will be shown on the table cell, for example, +8.0%.loadStockDataFor- loads random stock data for a stock passed to it.
After the helpers, we have the /stocks route. In here we generate a list of stocks, and for each stock, we send a push notification about the change in price. The stocks name serves as the interest for each stock. This means that subscribing to the AAPL interest, for instance, will subscribe to receiving push notifications for the AAPL stock.
Next, we trigger an event, update, on the stocks channel, so all other devices can pick up the recent changes. Lastly, we return the generated list of stocks and we add the code that starts the server on port 5000.
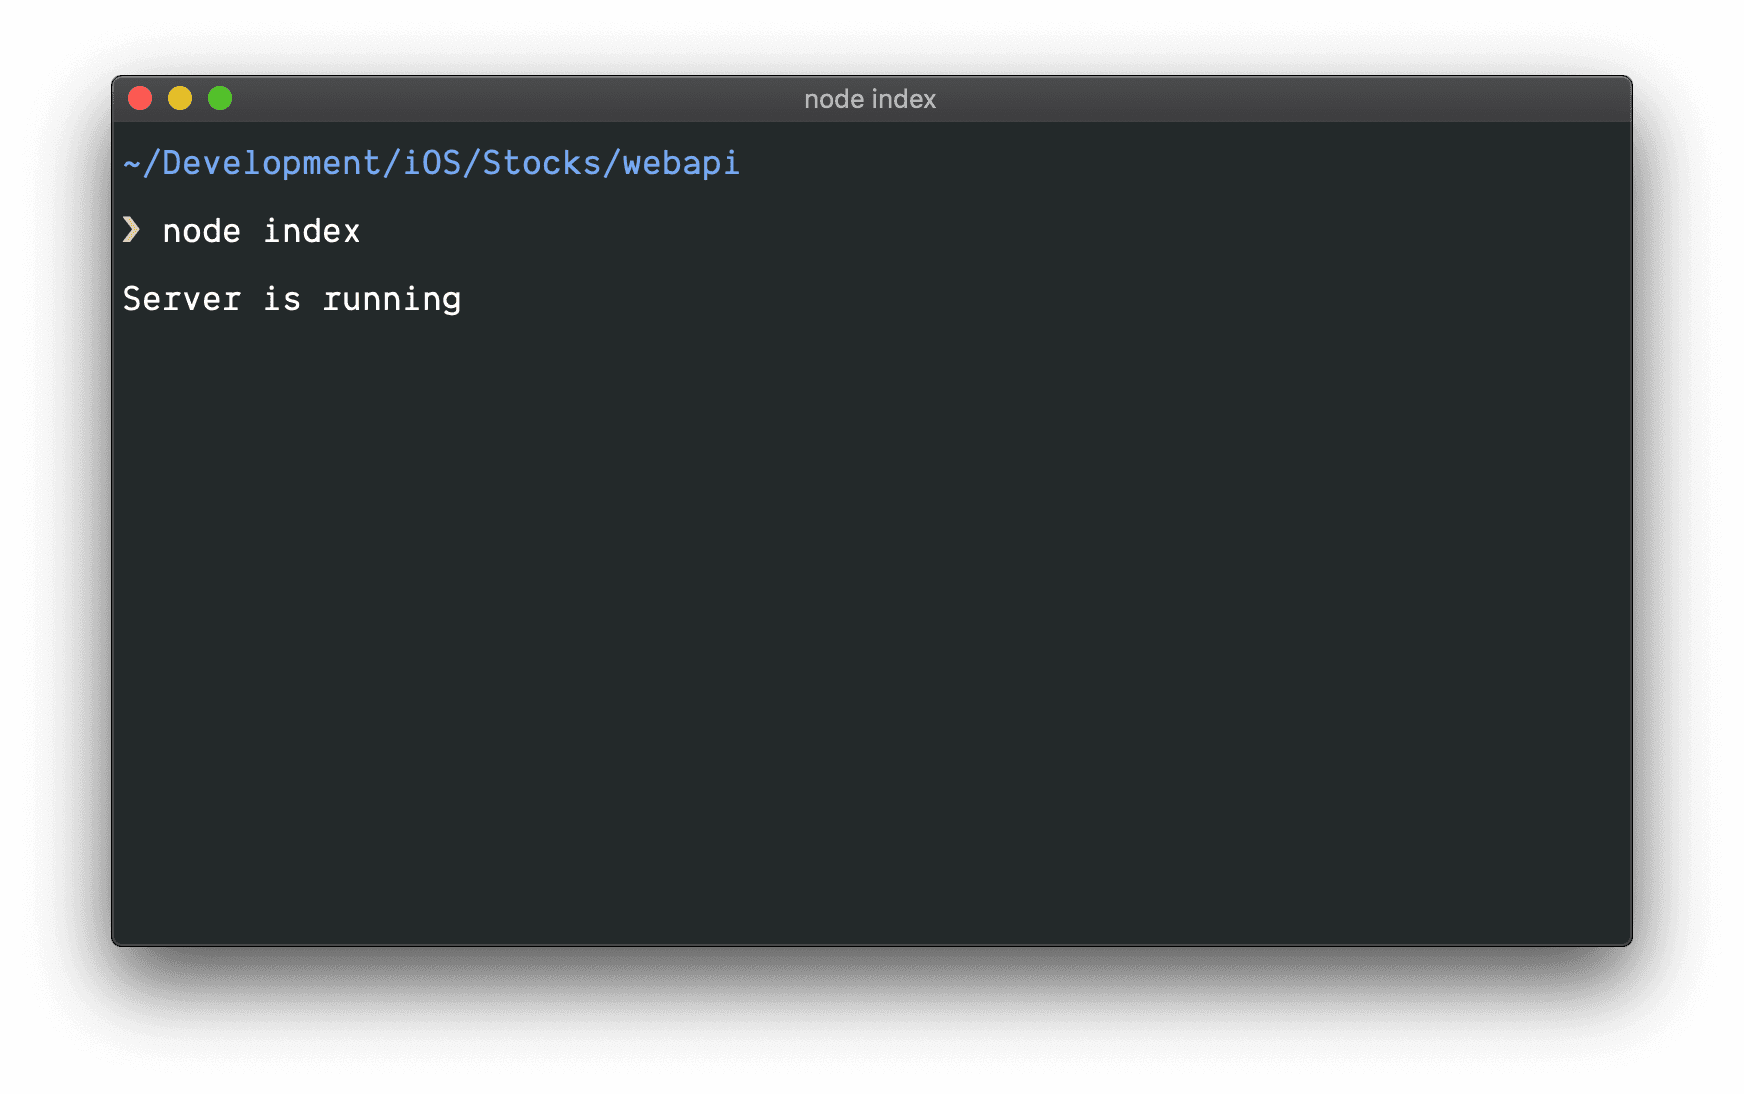
To get the server started, run the following command on your terminal:
$ node index
Testing the application
Now that we have built the backend and started the Node.js server, you can now run the iOS application. Your stocks will be displayed on the screen. However, if you want to test push notifications, you will need a real iOS device, and you will need to follow the following instructions.
First, you will need to install ngrok. This tool is used to expose local running web servers to the internet. Follow the instructions on their website to download and install ngrok.
Once you have it installed, run the following command in another terminal window:
$ ngrok http 8000
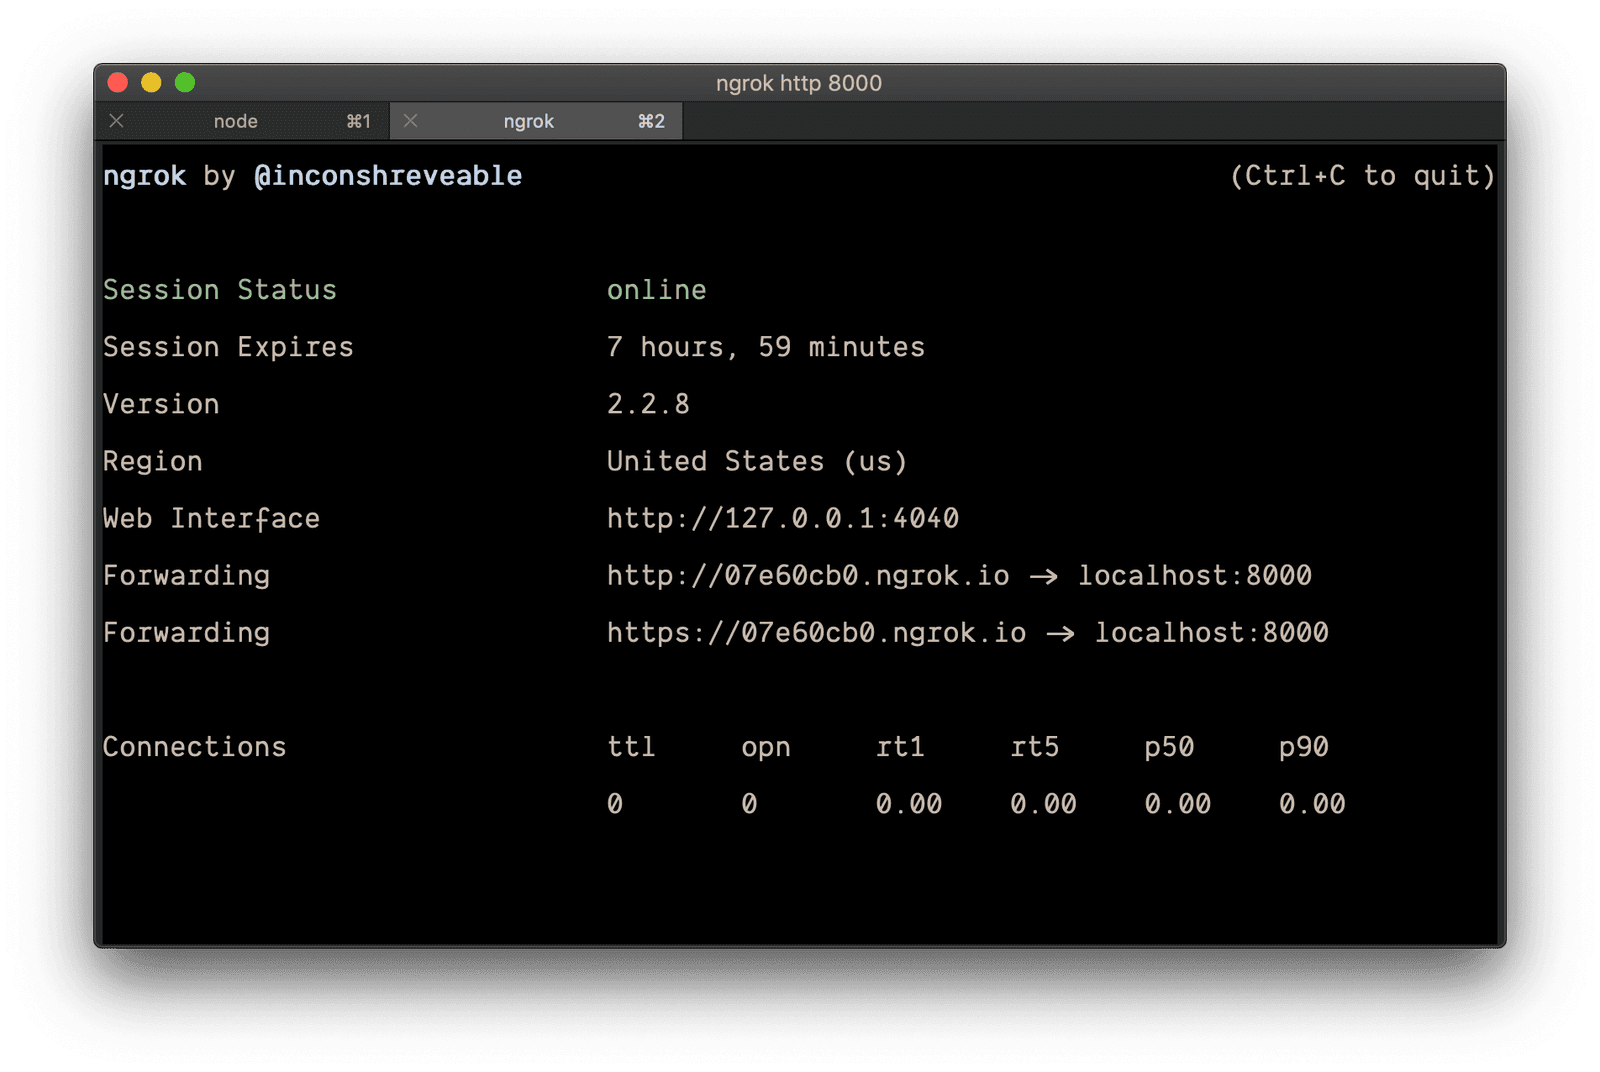
Make sure your Node.js server is still running before executing the command above.
Now we have a Forwarding URL we can use in our application. Copy the HTTPS forwarding URL and replace the ENDPOINT value in AppConstants.swift with the URL.
Now, run the application on your device. Once it has loaded, tap on a stock and turn on notification for that stock then minimize the application and visit http://localhost:5000/stocks on your web browser. This will simulate a change in the stock prices and you should get a push notification for the stock you subscribed to.
Conclusion
In this article, we have been able to create a stocks application with push notification using Pusher Channels and Pusher Beams.
The source code to the entire application is available on GitHub.


© 2024 Pusher Ltd. All rights reserved.
Pusher Limited is a company registered in England and Wales (No. 07489873) whose registered office is at MessageBird UK Limited, 3 More London Riverside, 4th Floor, London, United Kingdom, SE1 2AQ.