- Products

- Developers
- User stories
- Blog
- Pricing

Getting started with webpack - Part 9: Webpack and Vue.js from scratch
Introduction
Introduction
In this tutorial, we will see how to set up some popular JavaScript frameworks using webpack. Many JavaScript libraries, like Vue and React, come with CLI tools that help you get started pretty quickly. However, these CLI tools usually abstract away all the logic and make it seem as though it is magic. We will attempt to set up our libraries from scratch without using the CLI tools.
In the previous tutorial we learned how to create our very own custom plugins. Even though we may never need to create plugins as there are already many plugins that probably do what you want to do already, it was good to learn how to.
A quick reminder
Before we get started, please note that we are not recommending any way of setting up the libraries. This article is designed to show you in examples how you can use webpack. You should decide to use CLI tools or manual depending on the project and the level of customization you want to have.
Now, that that’s out of the way, let’s get started.
NOTE: Source code of the application is available on GitHub.
Prerequisites
To follow along in this series, you need the following requirements:
- Completed all previous parts of the series.
- Basic knowledge of JavaScript.
- Basic knowledge of the CLI.
- A text editor. VS Code is recommended.
- Node.js (>= 6.11.5) and npm installed locally.
Let’s continue with the series.
Starting from scratch
If you have ever created a new Vue project, you will very likely have used the vue-cli tool. This tool greatly simplifies how long it takes to set up new projects. With a single command:
$ npm install -g @vue/cli
You can install vue-cli and after that, you can start creating projects by simply running the command:
$ vue create project-name
However, we will be setting up a Vue application from scratch using webpack.
Getting started
The first thing you need to do is create a new project directory. This directory will be where all our project files will reside. After creating the directory, launch your terminal application, cd to the project root and run the following command:
$ npm init -y
This command will initialize npm in the project and add a new package.json file that we can use to define dependencies and more.
Next, let’s install Vue by running the following command:
$ npm install --save vue
When that is complete, run the next command to install webpack and webpack-cli:
$ npm install --save-dev webpack webpack-cli
When webpack and webpack-cli have been installed, let’s start creating our application files.
In the root of the application, create a src directory. Create a new App.vue file and inside paste the following code:
1<!-- File: ./src/App.vue --> 2 <template> 3 <div> 4 <h1>Hello World!</h1> 5 </div> 6 </template>
Next, create a new index.html file in the root of application and paste the following code into it:
1<!-- File: ./index.html --> 2 <!DOCTYPE html> 3 <html> 4 <head> 5 <meta charset="utf-8" /> 6 <meta name="viewport" content="width=device-width,initial-scale=1.0" /> 7 <title>Vue and Webpack</title> 8 </head> 9 <body> 10 <div id="app"></div> 11 <script src="dist/main.js" type="text/javascript"></script> 12 </body> 13 </html>
Next, create a new file inside the src directory named app.js and paste the following into it:
1// File: ./src/app.js 2 import Vue from 'vue'; 3 import App from './App.vue'; 4 5 new Vue({ 6 el: '#app', 7 render: h => h(App) 8 });
The file above will be the entry point to the application and we are making it load the App.vue file. However, we need to bundle the files using webpack.
Bundling our application with webpack
The next thing we want to do is bundle the application using webpack. Create a new webpack configuration file in the root of the project and paste the following into the file:
1// File: ./webpack.config.js 2 const VueLoaderPlugin = require('vue-loader/lib/plugin'); 3 const env = process.env.NODE_ENV; 4 5 module.exports = { 6 mode: env == 'production' || env == 'none' ? env : 'development', 7 entry: ['./src/app.js'], 8 module: { 9 rules: [ 10 { 11 test: /\.vue$/, 12 use: 'vue-loader' 13 }, 14 { 15 test: /\.js$/, 16 loader: 'babel-loader' 17 }, 18 { 19 test: /\.css$/, 20 use: ['vue-style-loader', 'css-loader'] 21 } 22 ] 23 }, 24 plugins: [new VueLoaderPlugin()] 25 };
In the code above, we are importing vue-loader which helps us parse .vue files. We also registered the VueLoaderPlugin.
Next, let’s install the additional dependencies we defined in the webpack configuration file. To do this, run the following command:
$ npm i vue-loader vue-template-compiler vue-style-loader css-loader babel-loader @babel/core @babel/preset-env -D
When the installation is complete, add a new build script to the package.json file as seen below:
1// File: ./package.json 2 { 3 // [...] 4 5 "scripts": { 6 "build": "webpack" 7 }, 8 9 // [...] 10 }
Next, run the build script using the command below:
$ npm run build
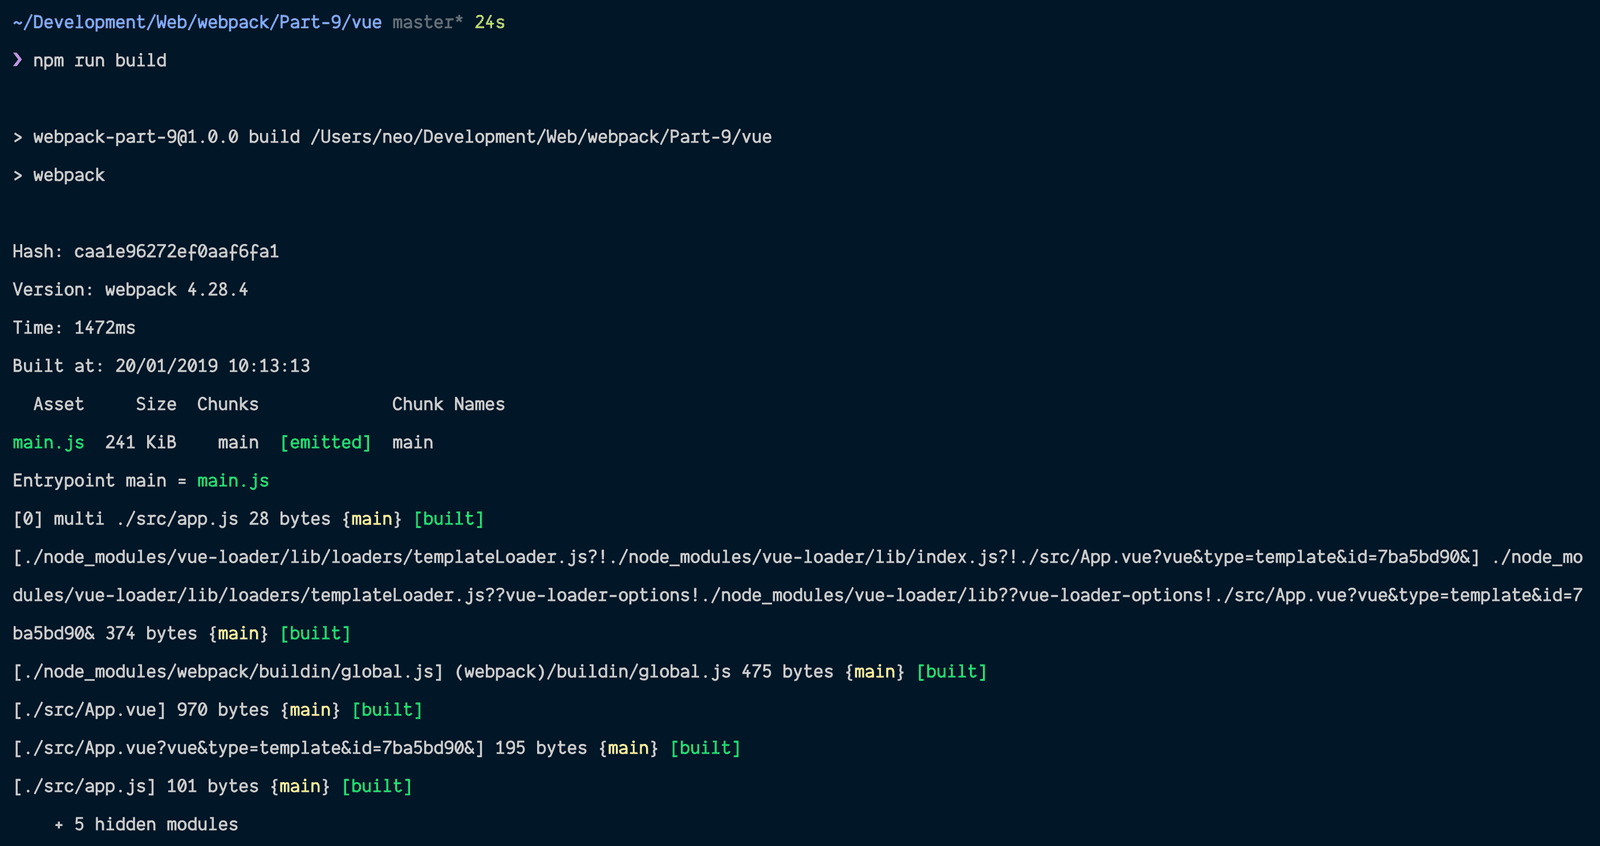
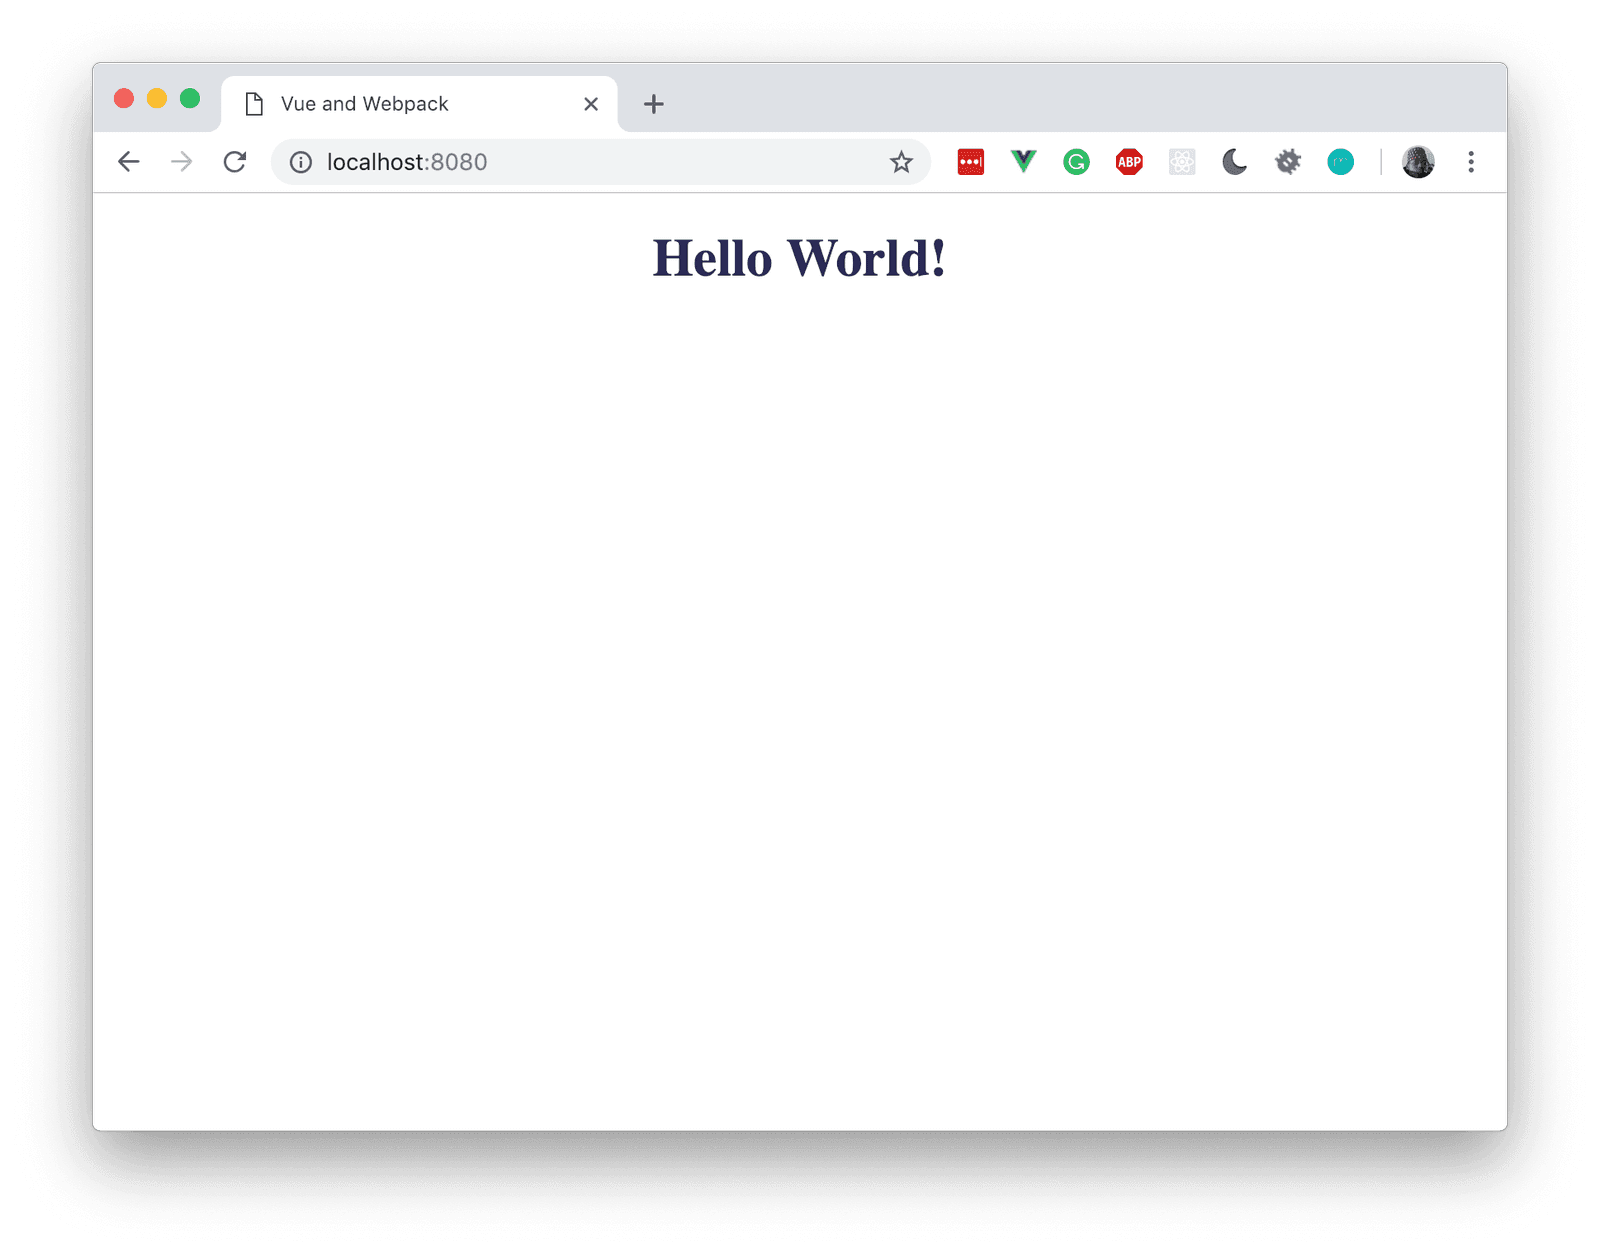
When the build is complete, you should see a new dist directory containing the compiled code. If you launch the index.html file in your browser you should see your application:

Improving our webpack bundling
Although our build above works, we can definitely do better. Let’s do some additional configuration that will get us closer to an actual development environment. First, we will install the webpack dev server. This will remove the need for us to manually launch the index.html file.
In your terminal, run the following command:
$ npm i webpack-dev-server -D
Next, in your package.json file, add the following build script:
1// File: ./package.json 2 { 3 // [...] 4 5 "scripts": { 6 7 // [...] 8 9 "dev": "webpack-dev-server" 10 } 11 12 // [...] 13 }
Now when we run the dev script and visit http://localhost:8080, we should see the same output as above. However, when we change the contents of the App.vue the changes are not reflected immediately. To add hot reload, let’s make a few changes.
Open the index.html file and remove the reference to the main script dist/main.js. We want this to be automatically injected.
Next, run the following command to install some additional dependencies:
$ npm i html-webpack-plugin -D
When the installation is complete, open the webpack configuration file and import the plugin as seen below:
1// File: ./webpack.config.js 2 // [...] 3 4 const HtmlWebpackPlugin = require('html-webpack-plugin'); 5 6 module.exports = { 7 // [...] 8 9 plugins: [ 10 // [...] 11 12 new HtmlWebpackPlugin({ 13 filename: 'index.html', 14 template: 'index.html', 15 inject: true 16 }) 17 ] 18 };
Now, to add some hot reloading to the application, in the same file, update as seen below:
1// File: ./webpack.config.js 2 // [...] 3 const webpack = require('webpack'); 4 5 module.exports = { 6 // [...] 7 8 devServer: { 9 hot: true, 10 watchOptions: { 11 poll: true 12 } 13 }, 14 15 // [...] 16 17 plugins: [ 18 new webpack.HotModuleReplacementPlugin(), 19 20 // [...] 21 ] 22 };
Now we can re-run the dev script and we will see true hot reloading whenever we change files like the App.vue file.
Adding styles and other components
Right now, we only have the App.vue component and no style. Let’s fix that. Create a new file src/components/HelloWorld.vue and paste the following code into the file:
1<-- File: ./src/components/HelloWorld.vue --> 2 <template> 3 <div class="container"> 4 <h1>{{ message }}</h1> 5 </div> 6 </template> 7 8 <style scoped> 9 .container { 10 margin: 0 auto; 11 padding: 0 16px; 12 max-width: 1200px; 13 } 14 .container h1 { 15 color: #2a2a55; 16 text-align: center; 17 } 18 </style> 19 20 <script> 21 export default { 22 data: () => ({ 23 message: "Hello World!" 24 }) 25 }; 26 </script>
Next, replace the contents of the App.vue file with the following code:
1<!-- File: ./src/App.vue --> 2 <template> 3 <div id="app"> 4 <hello-world></hello-world> 5 </div> 6 </template>
Lastly, in the src/app.js file, let’s register the component we just created. Add the following code before the main Vue instance is created:
1// File: ./src/app.js 2 // [...] 3 4 Vue.component('hello-world', require('./components/HelloWorld.vue').default); 5 6 // [...]
Now, run the dev script (if it was not already running) and visit http://localhost:8080. You should see the new styled application.
There are many other additions we can add but at this point, we have a fully working Vue application that we have built from scratch. No magic behind-the-scenes configuration.
Conclusion
In this part of the series, we have managed to configure our Vue application from scratch using webpack and without the help of the vue-cli tool. Depending on your project, however, you might want to stick with vue-cli as it is a lot easier to set up.
In the final part of the series, we will configure React, another popular JavaScript library, from scratch.
The source code to the application built in this series is available on GitHub.


© 2024 Pusher Ltd. All rights reserved.
Pusher Limited is a company registered in England and Wales (No. 07489873) whose registered office is at MessageBird UK Limited, 3 More London Riverside, 4th Floor, London, United Kingdom, SE1 2AQ.